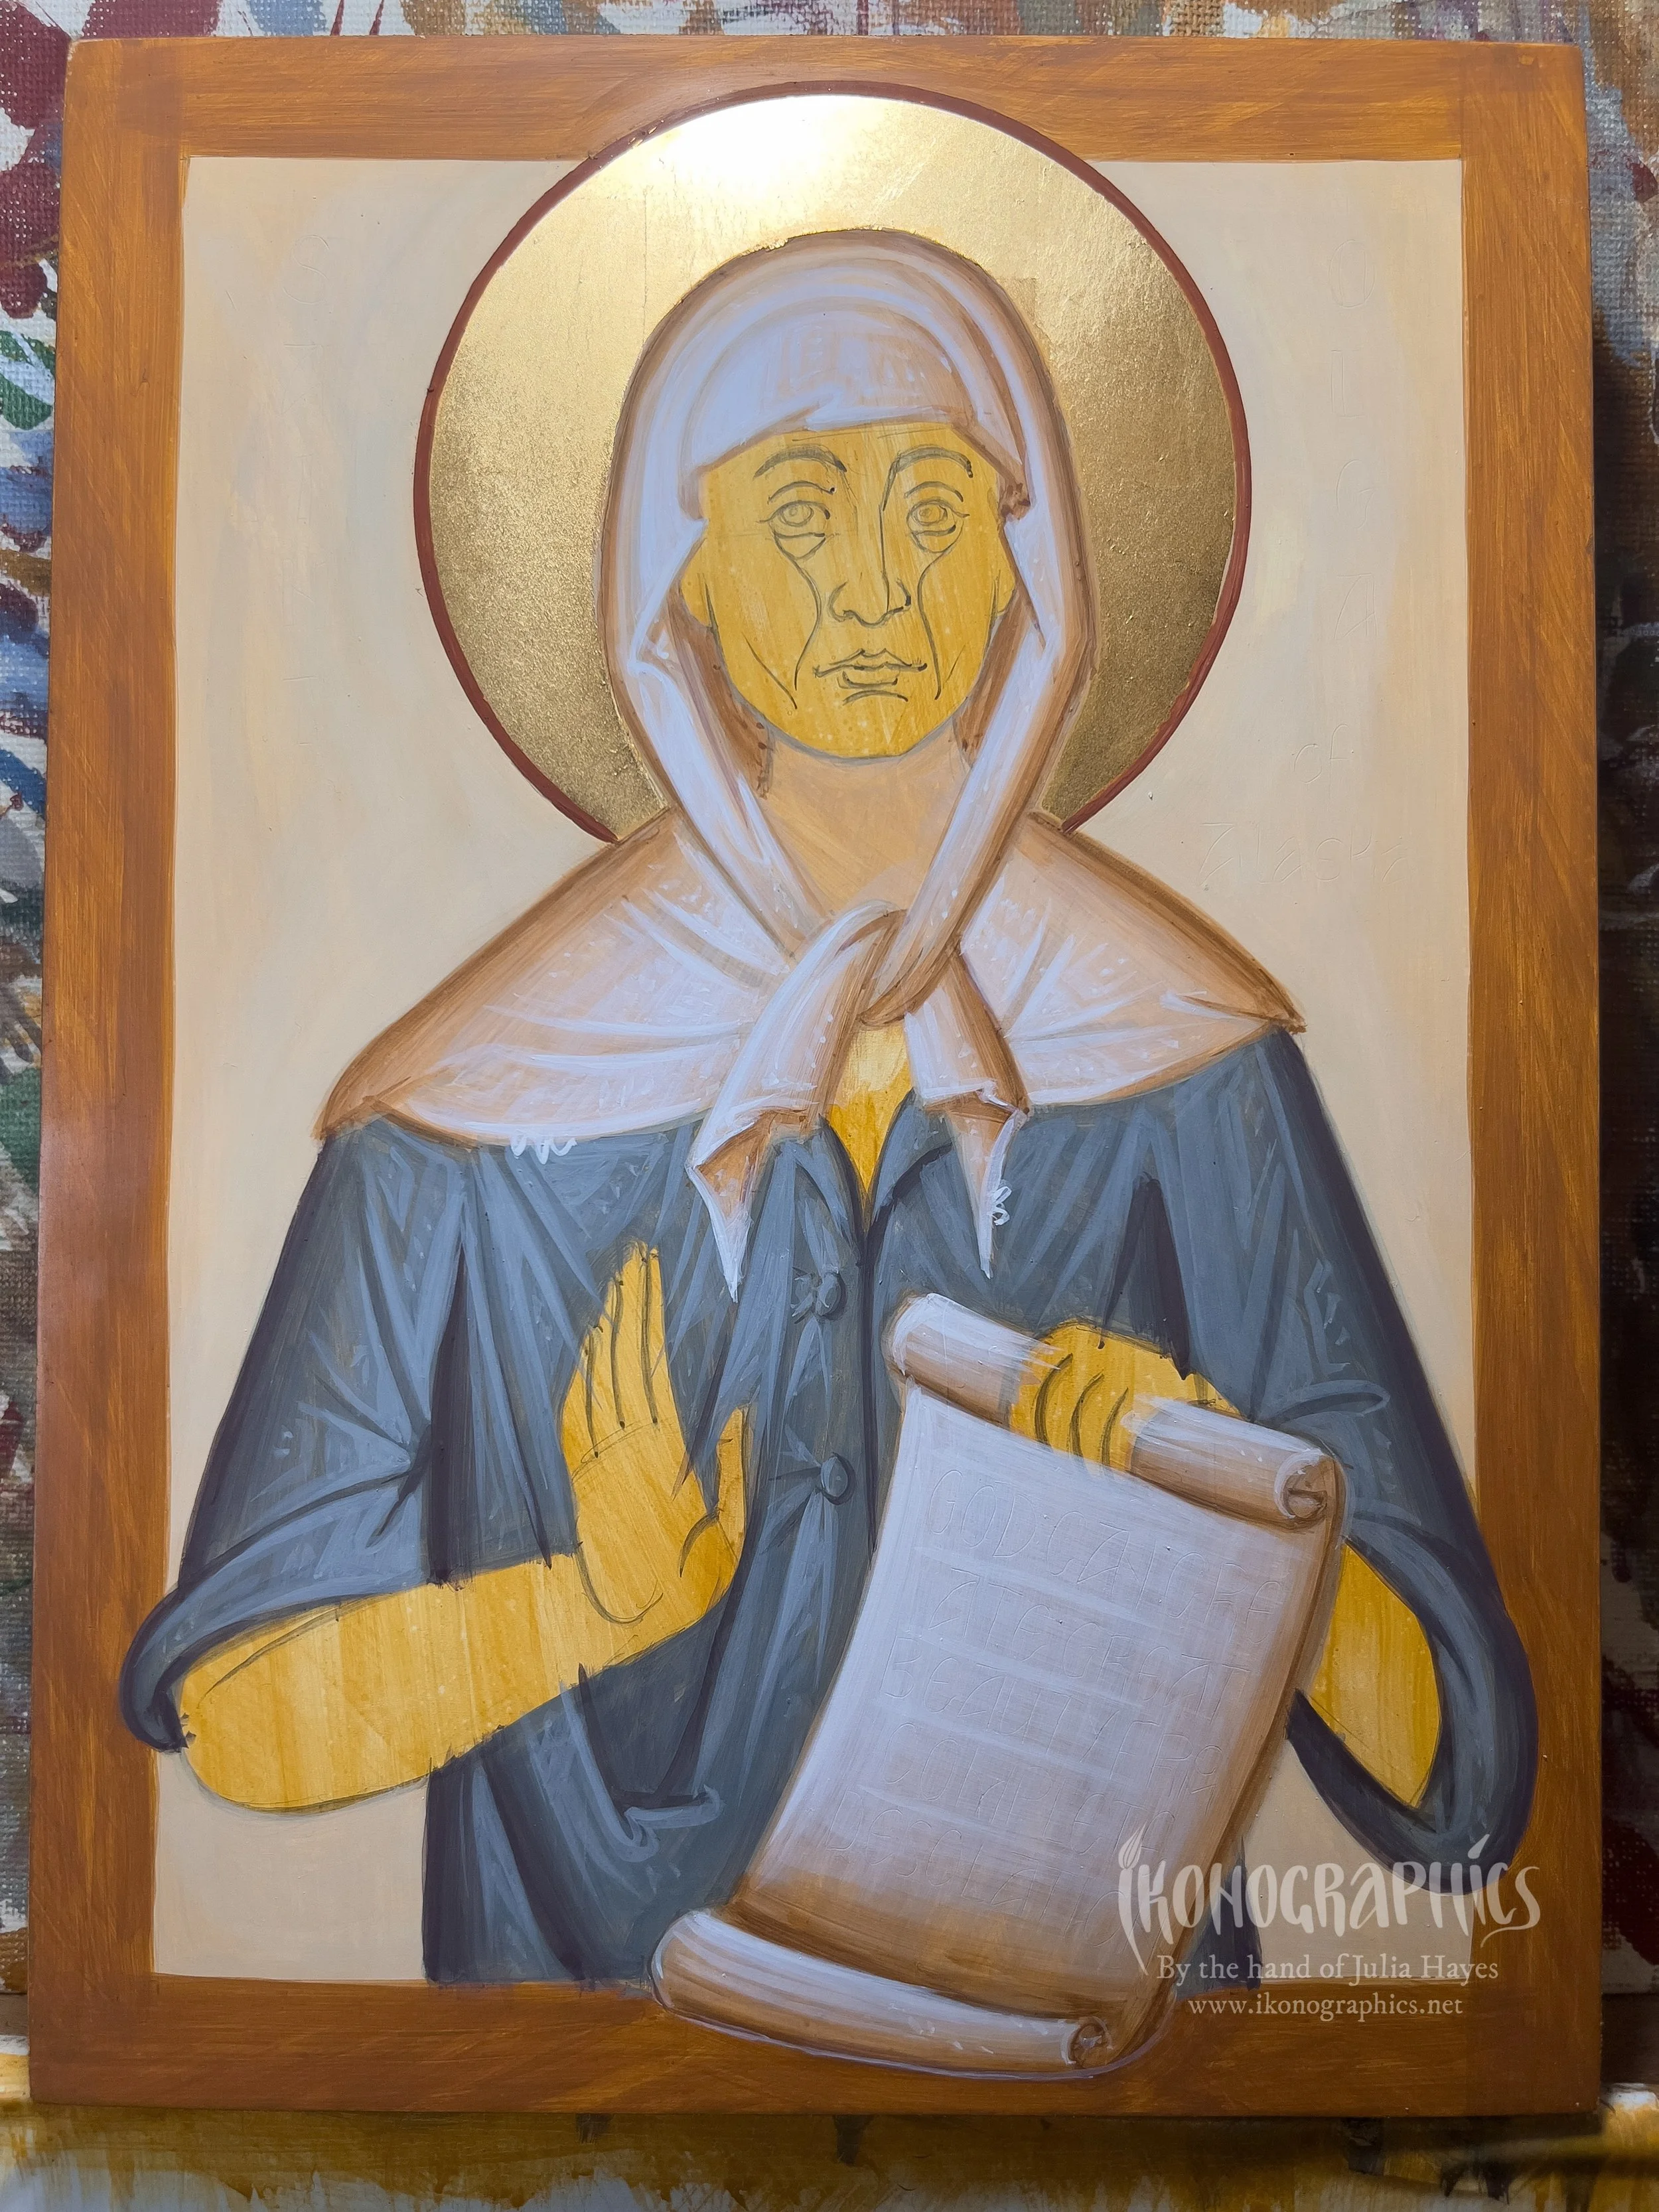
Painting St Olga of Alaska: Garments
It was truly a blessing to have the opportunity to paint the icon of the newly glorified St Olga of Alaska. As always, painting contemporary saints is challenging precisely because we have photographs of them and we know exactly what they look like. This is a blessing and a burden for an iconographer and I will go into in more in the next post when I will go through painting St Olga’s face, but in this tutorial I will be going through painting her garments. As she as a contemporary saint I have chosen to depict her in garments similar to those she is seen wearing , but giving them byzantine rhythm. Just as we depict contemporary monastics wearing contemporary monastic garments, it doesn’t make sense to dress a contemporary woman saint in 4th century garments.
The Bonus Prep Sketch of the process of studying St Olga’ face and sketching the garments is available on Patreon here.
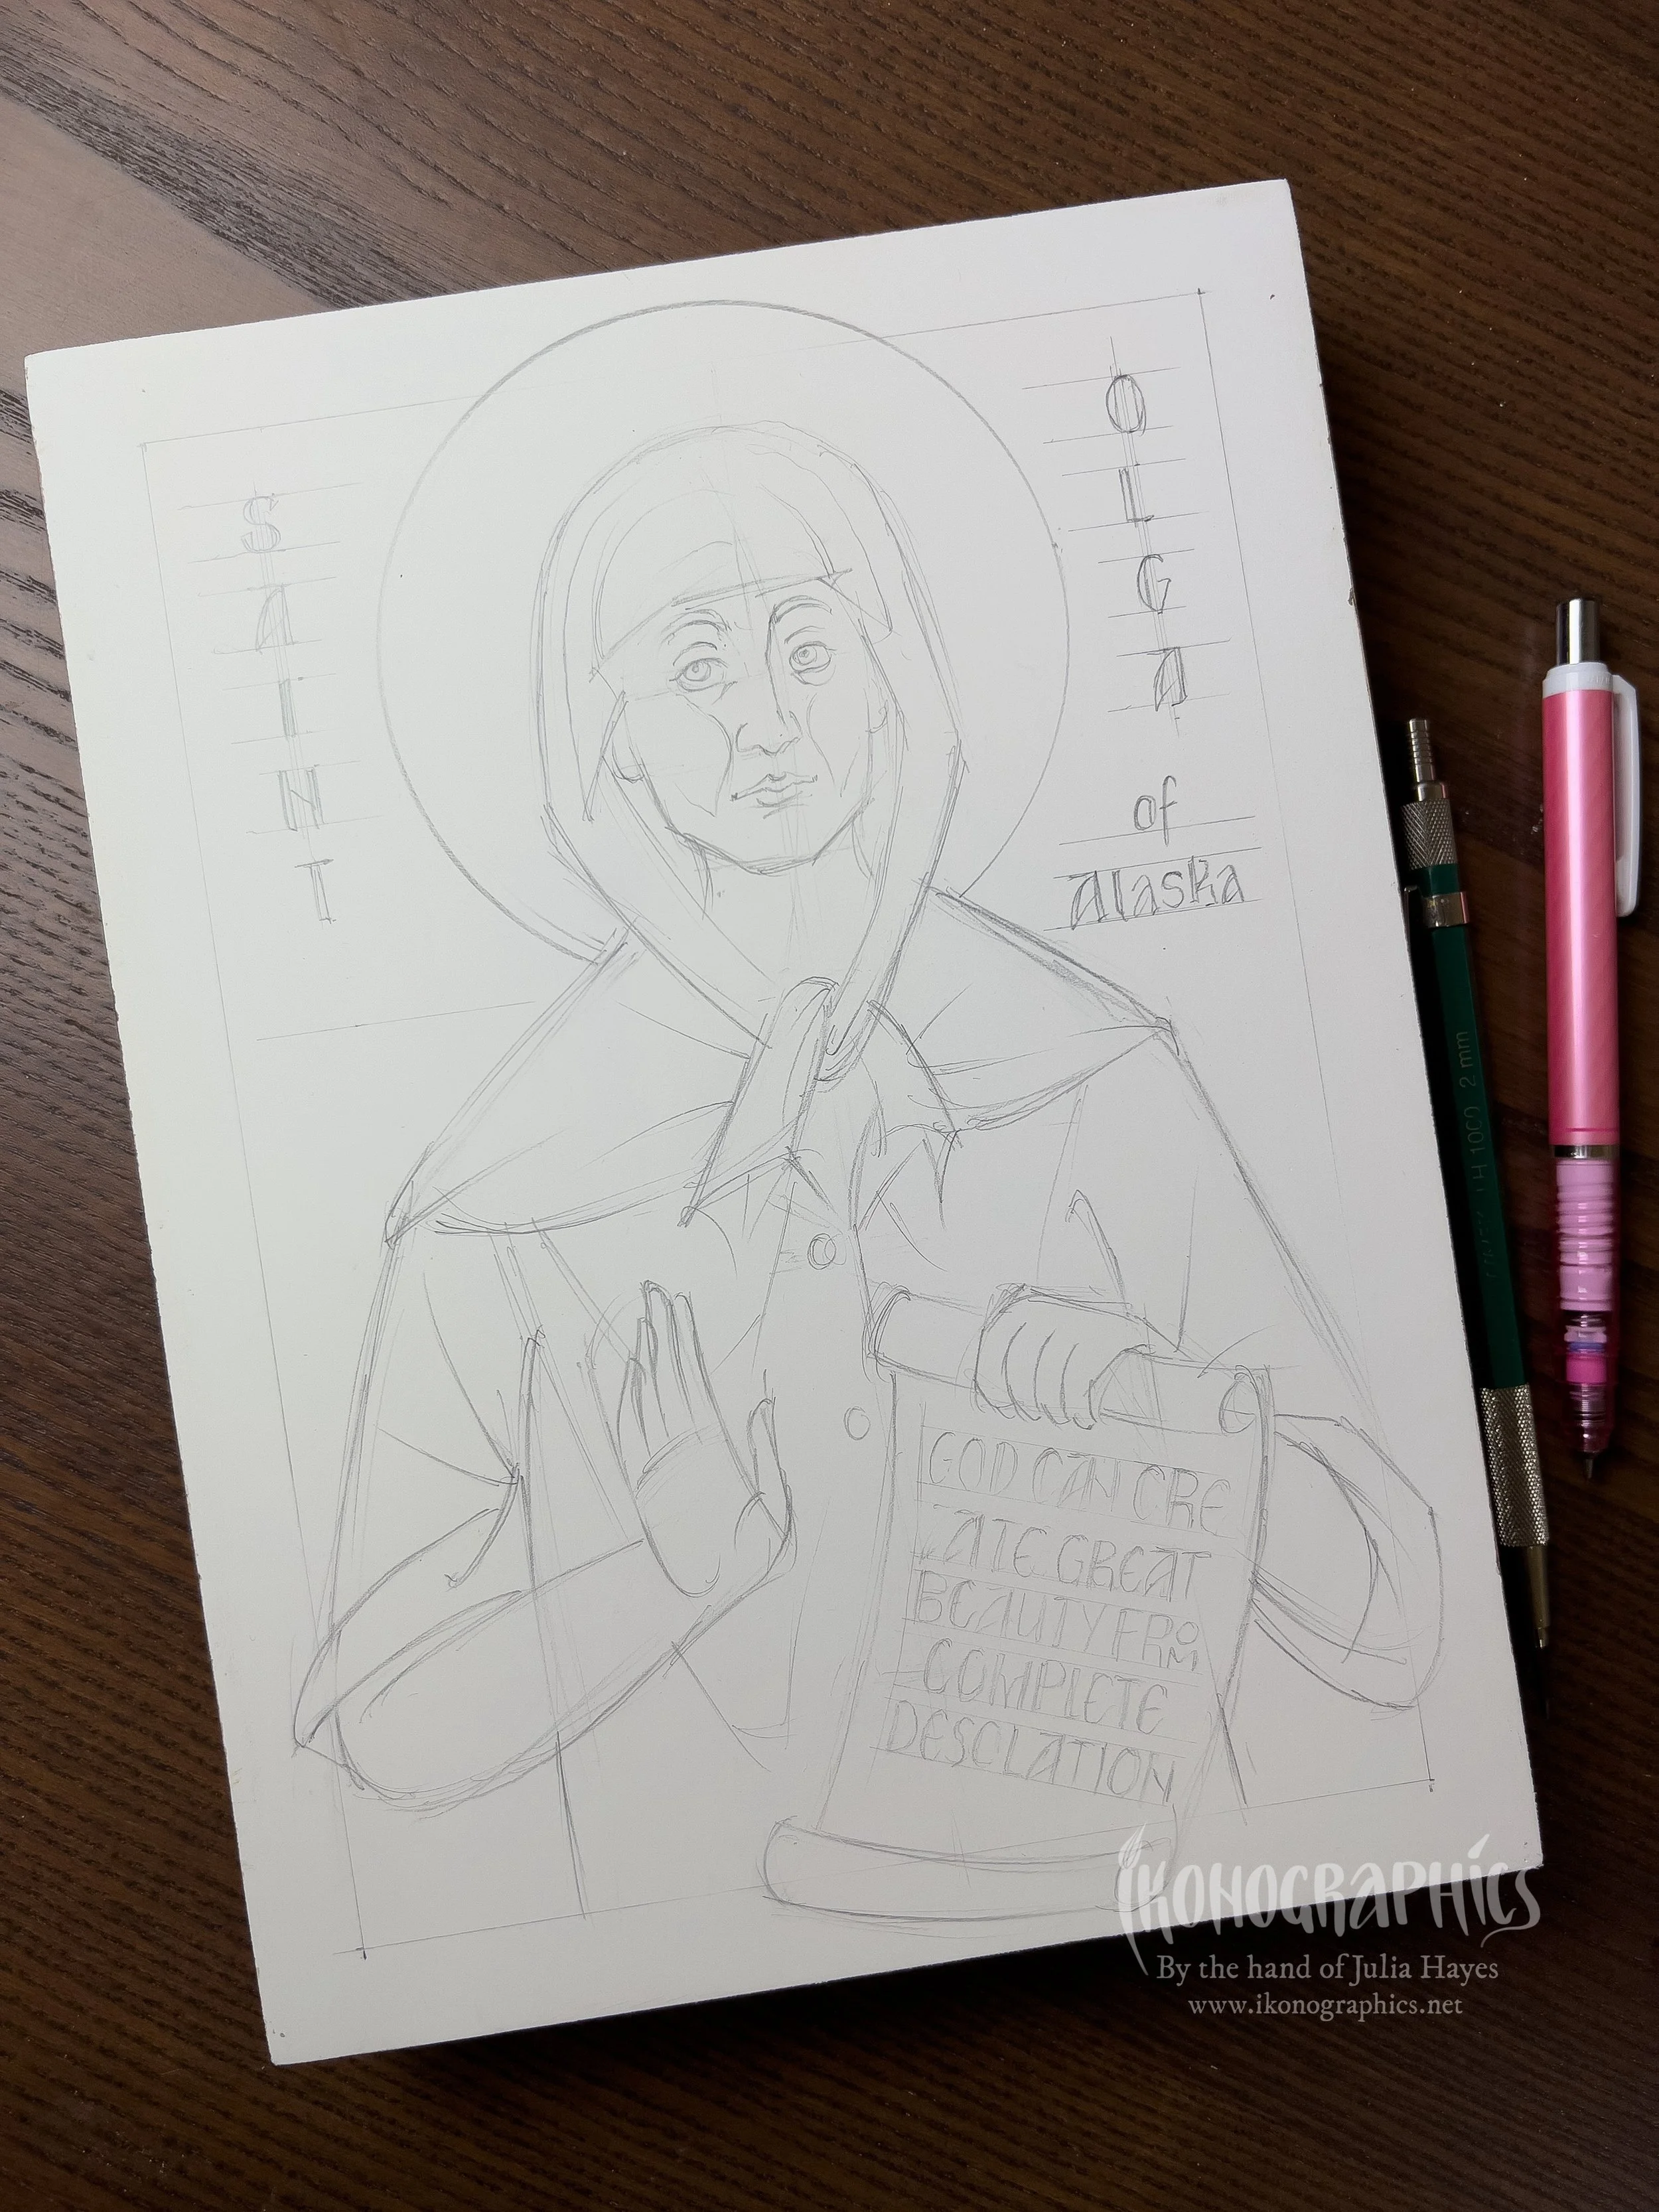
Sketch
The sketch is lightly drawn onto the panel.
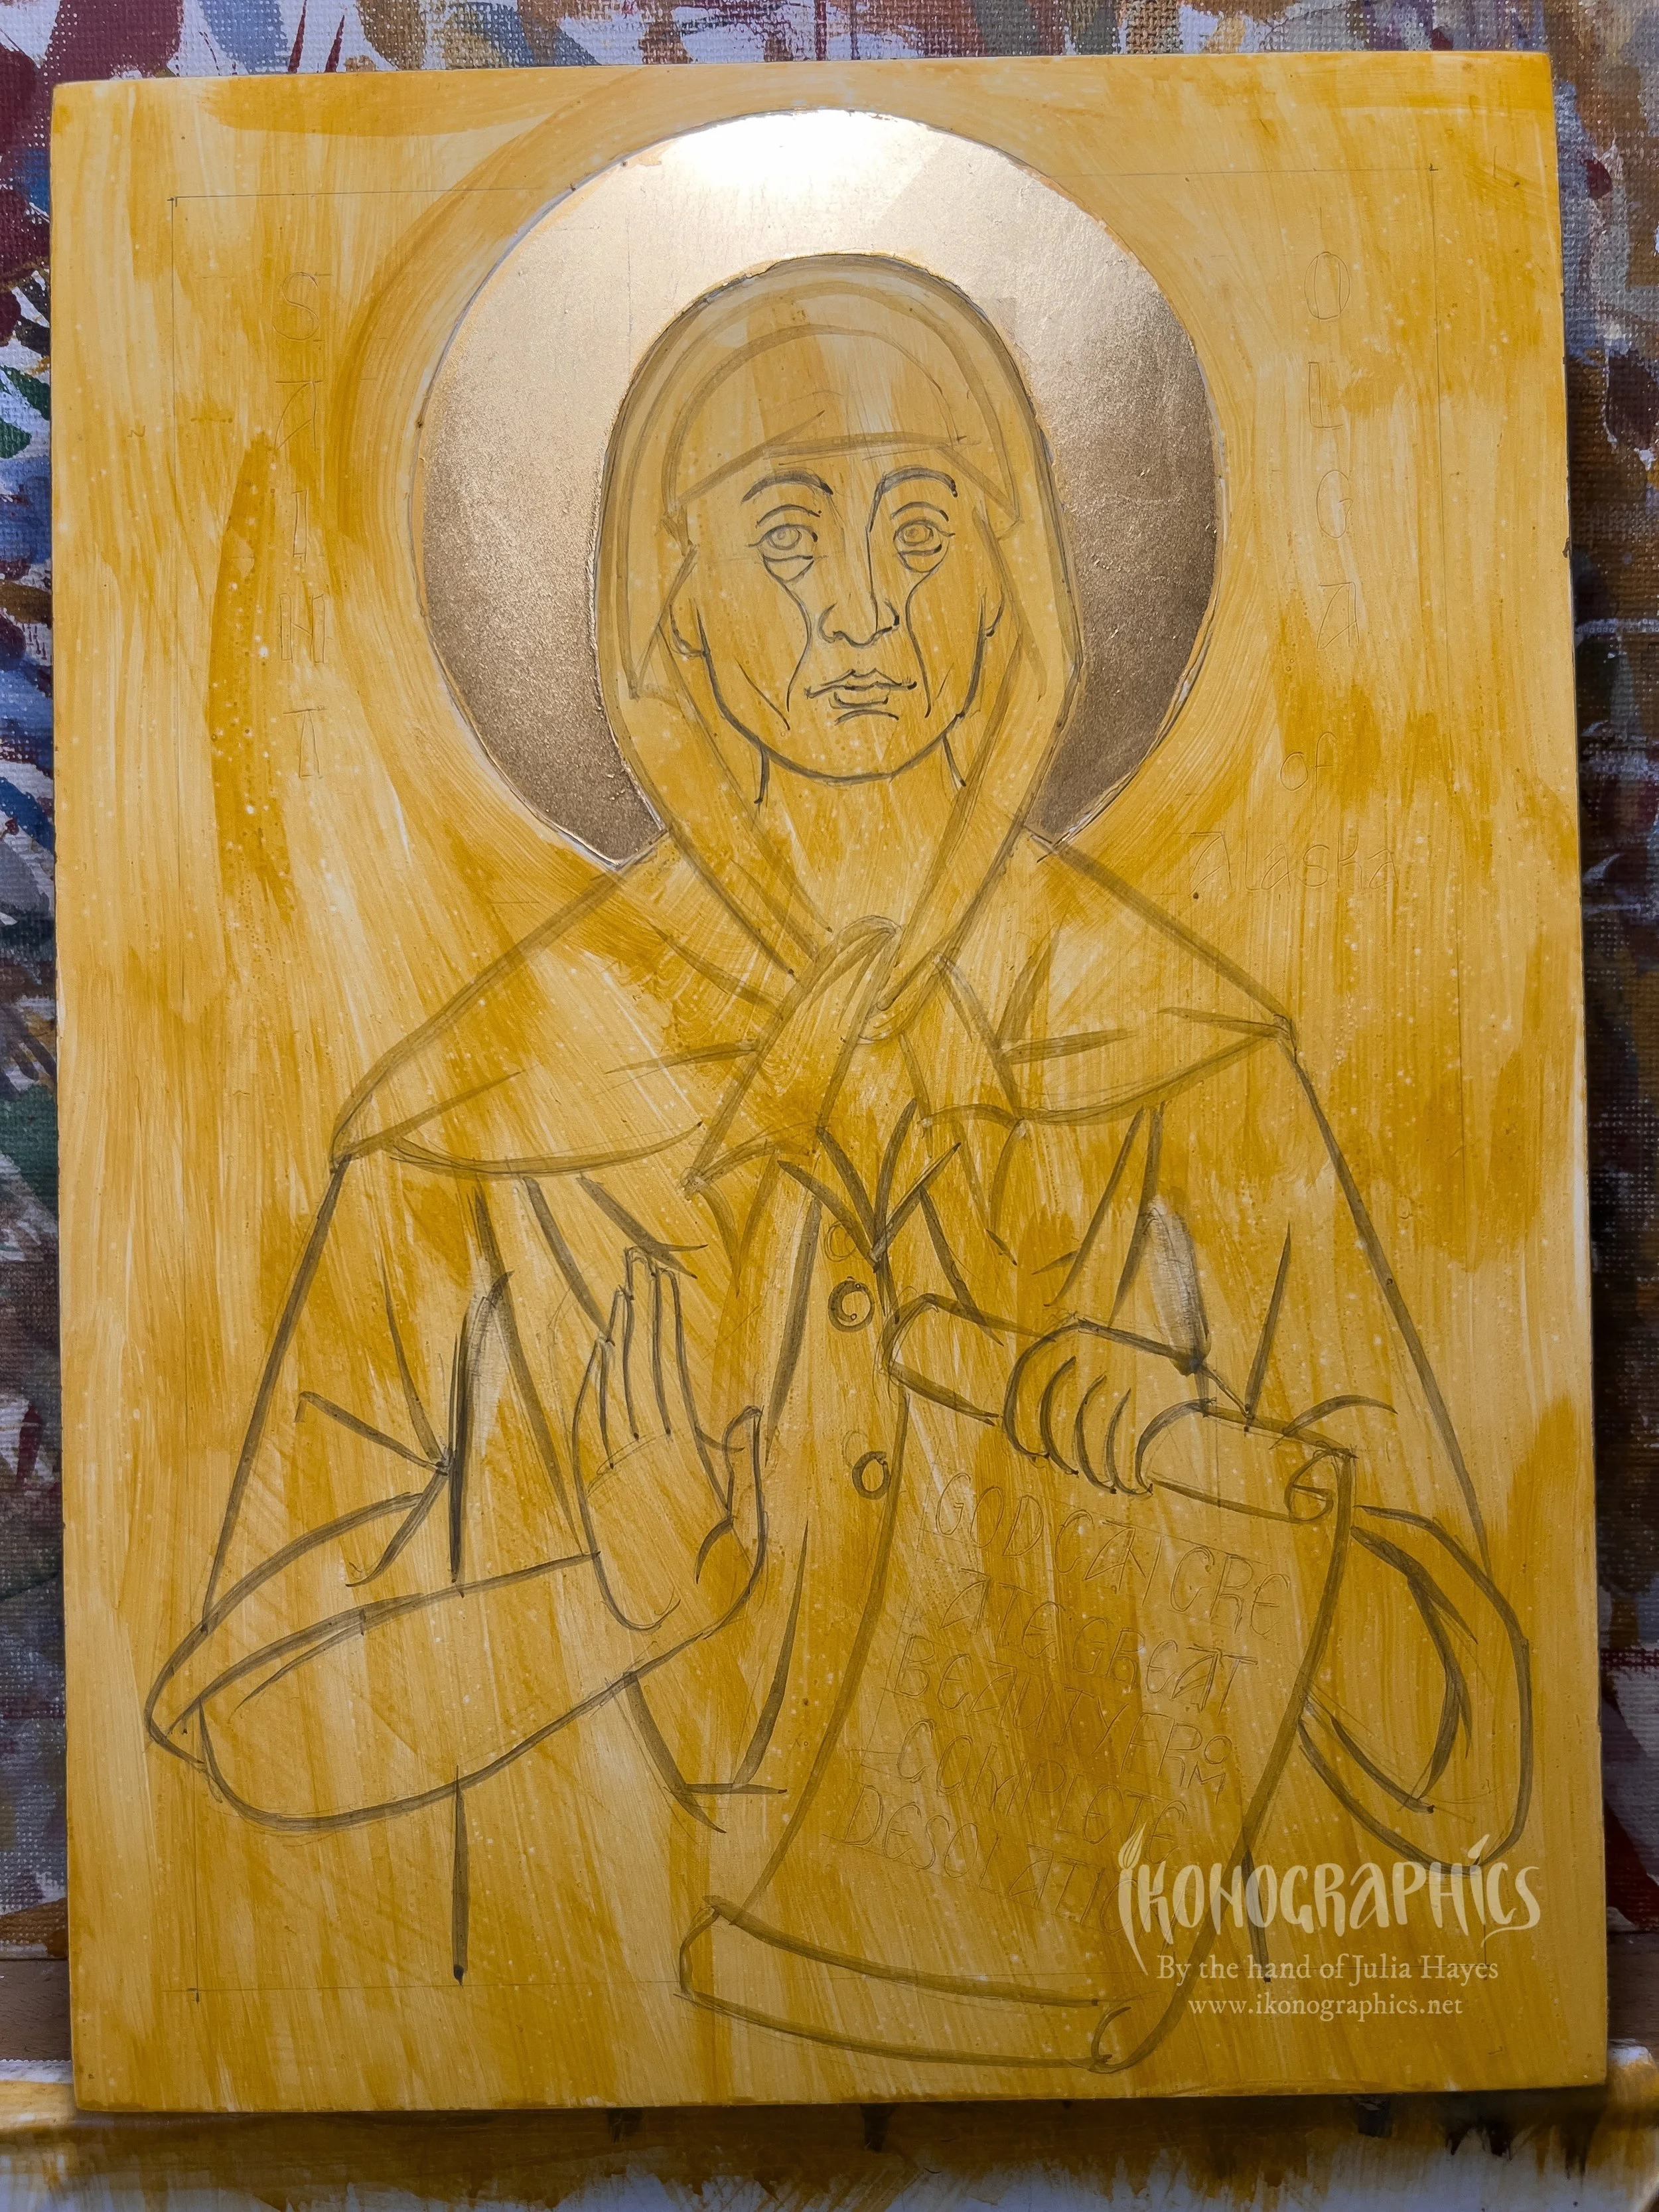
Preparing the Surface
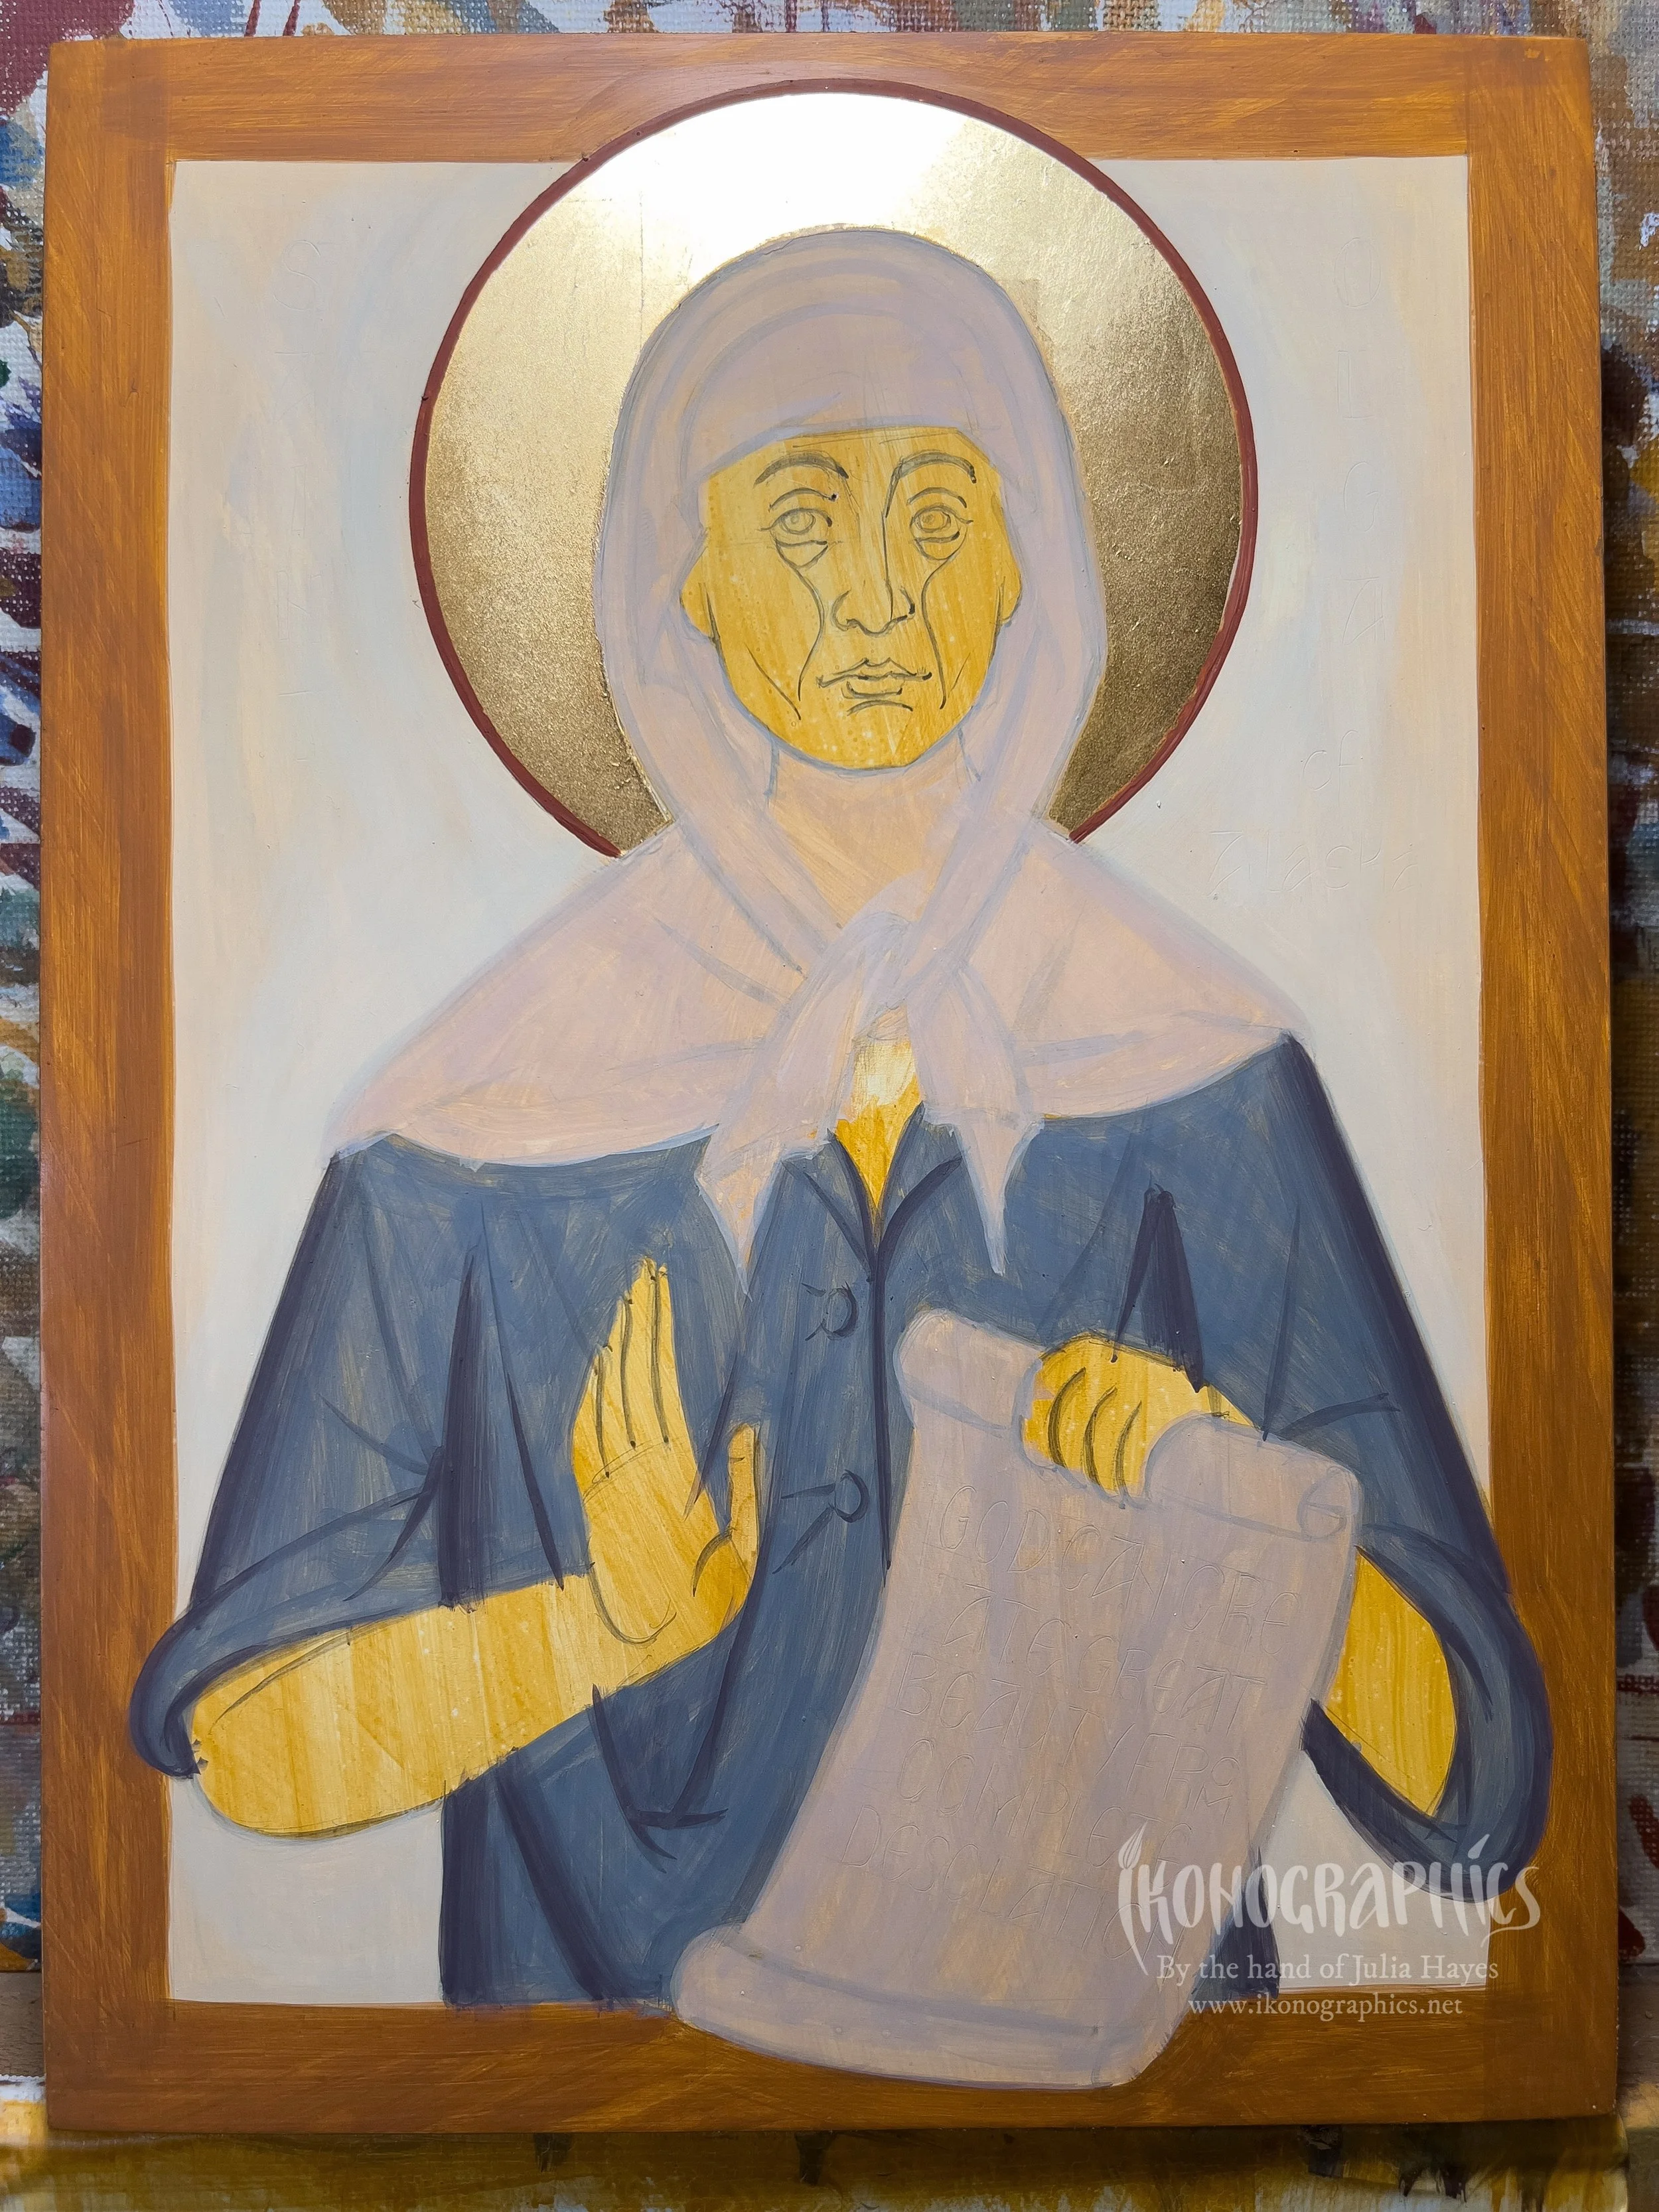
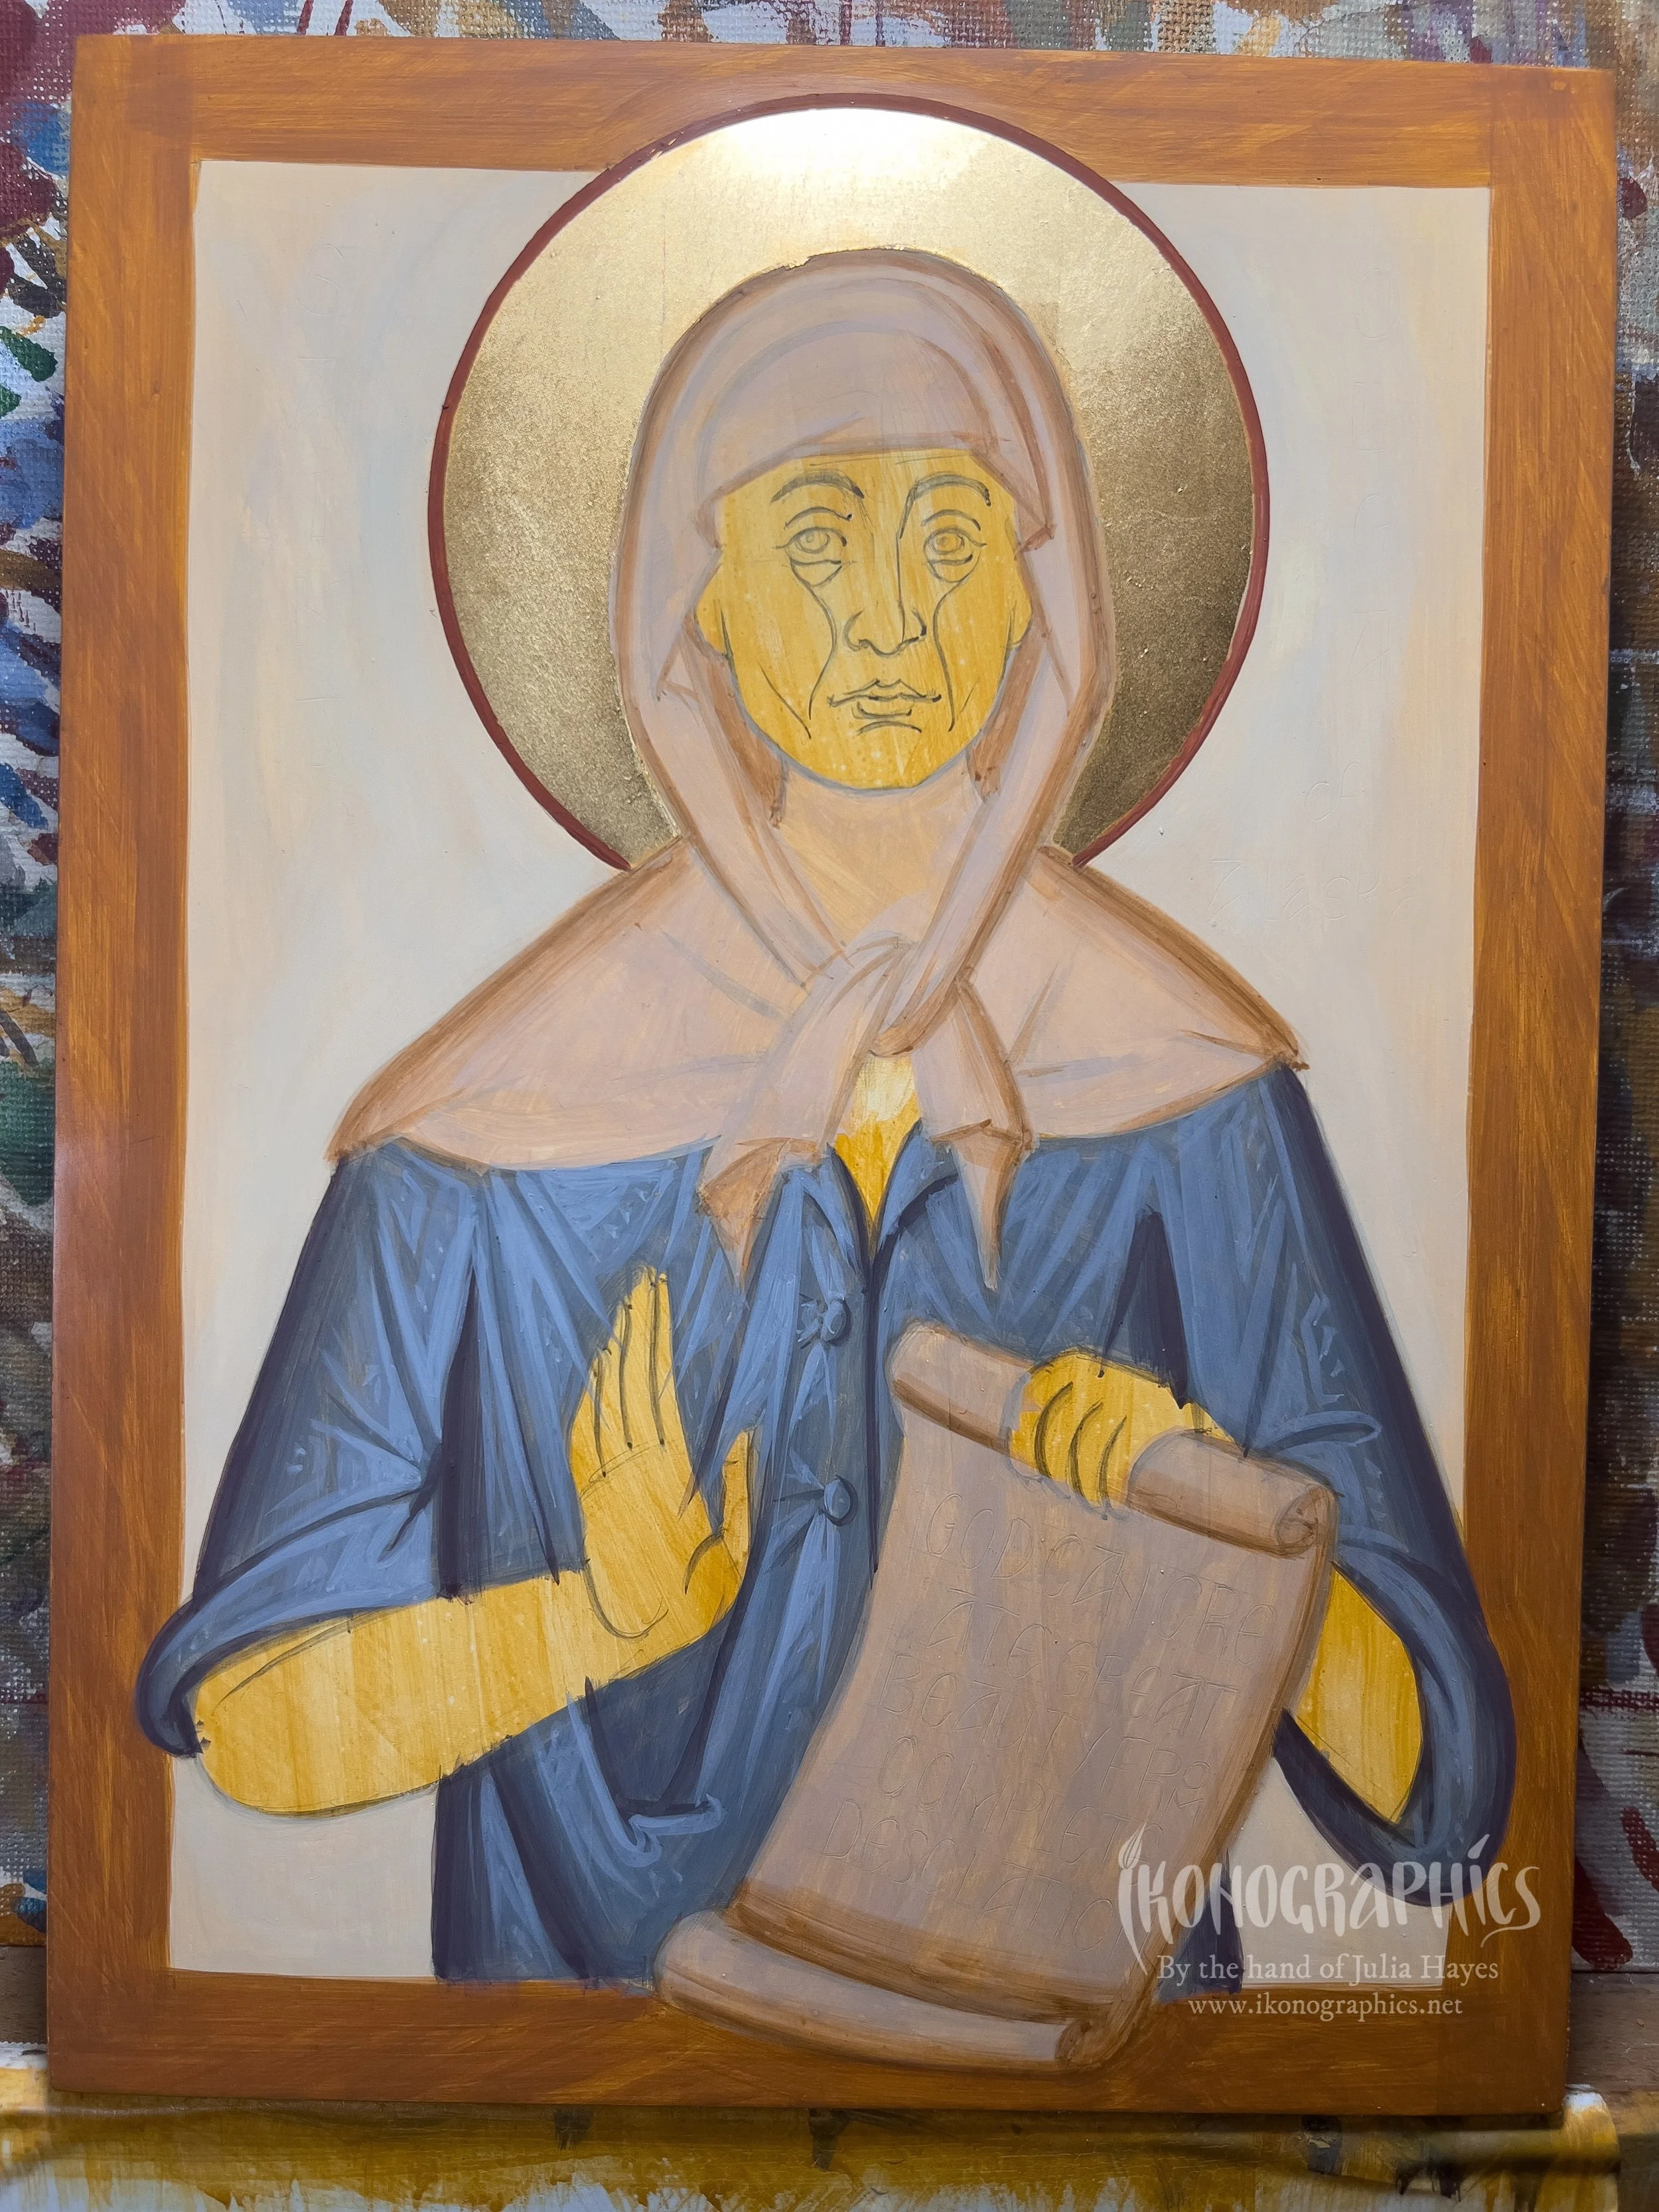
After gilding the halo I prepare the surface of the panel with a couple of layers of egg emulsion diluted 1:2 with water to seal it and then paint over a layer of yellow ochre. This creates a warm unifying layer. I paint over the sketch with a mixture of yellow ochre and black. Note that when sketching the white head covering and scroll the colour is lighter (more yellow ochre) than under the shirt.
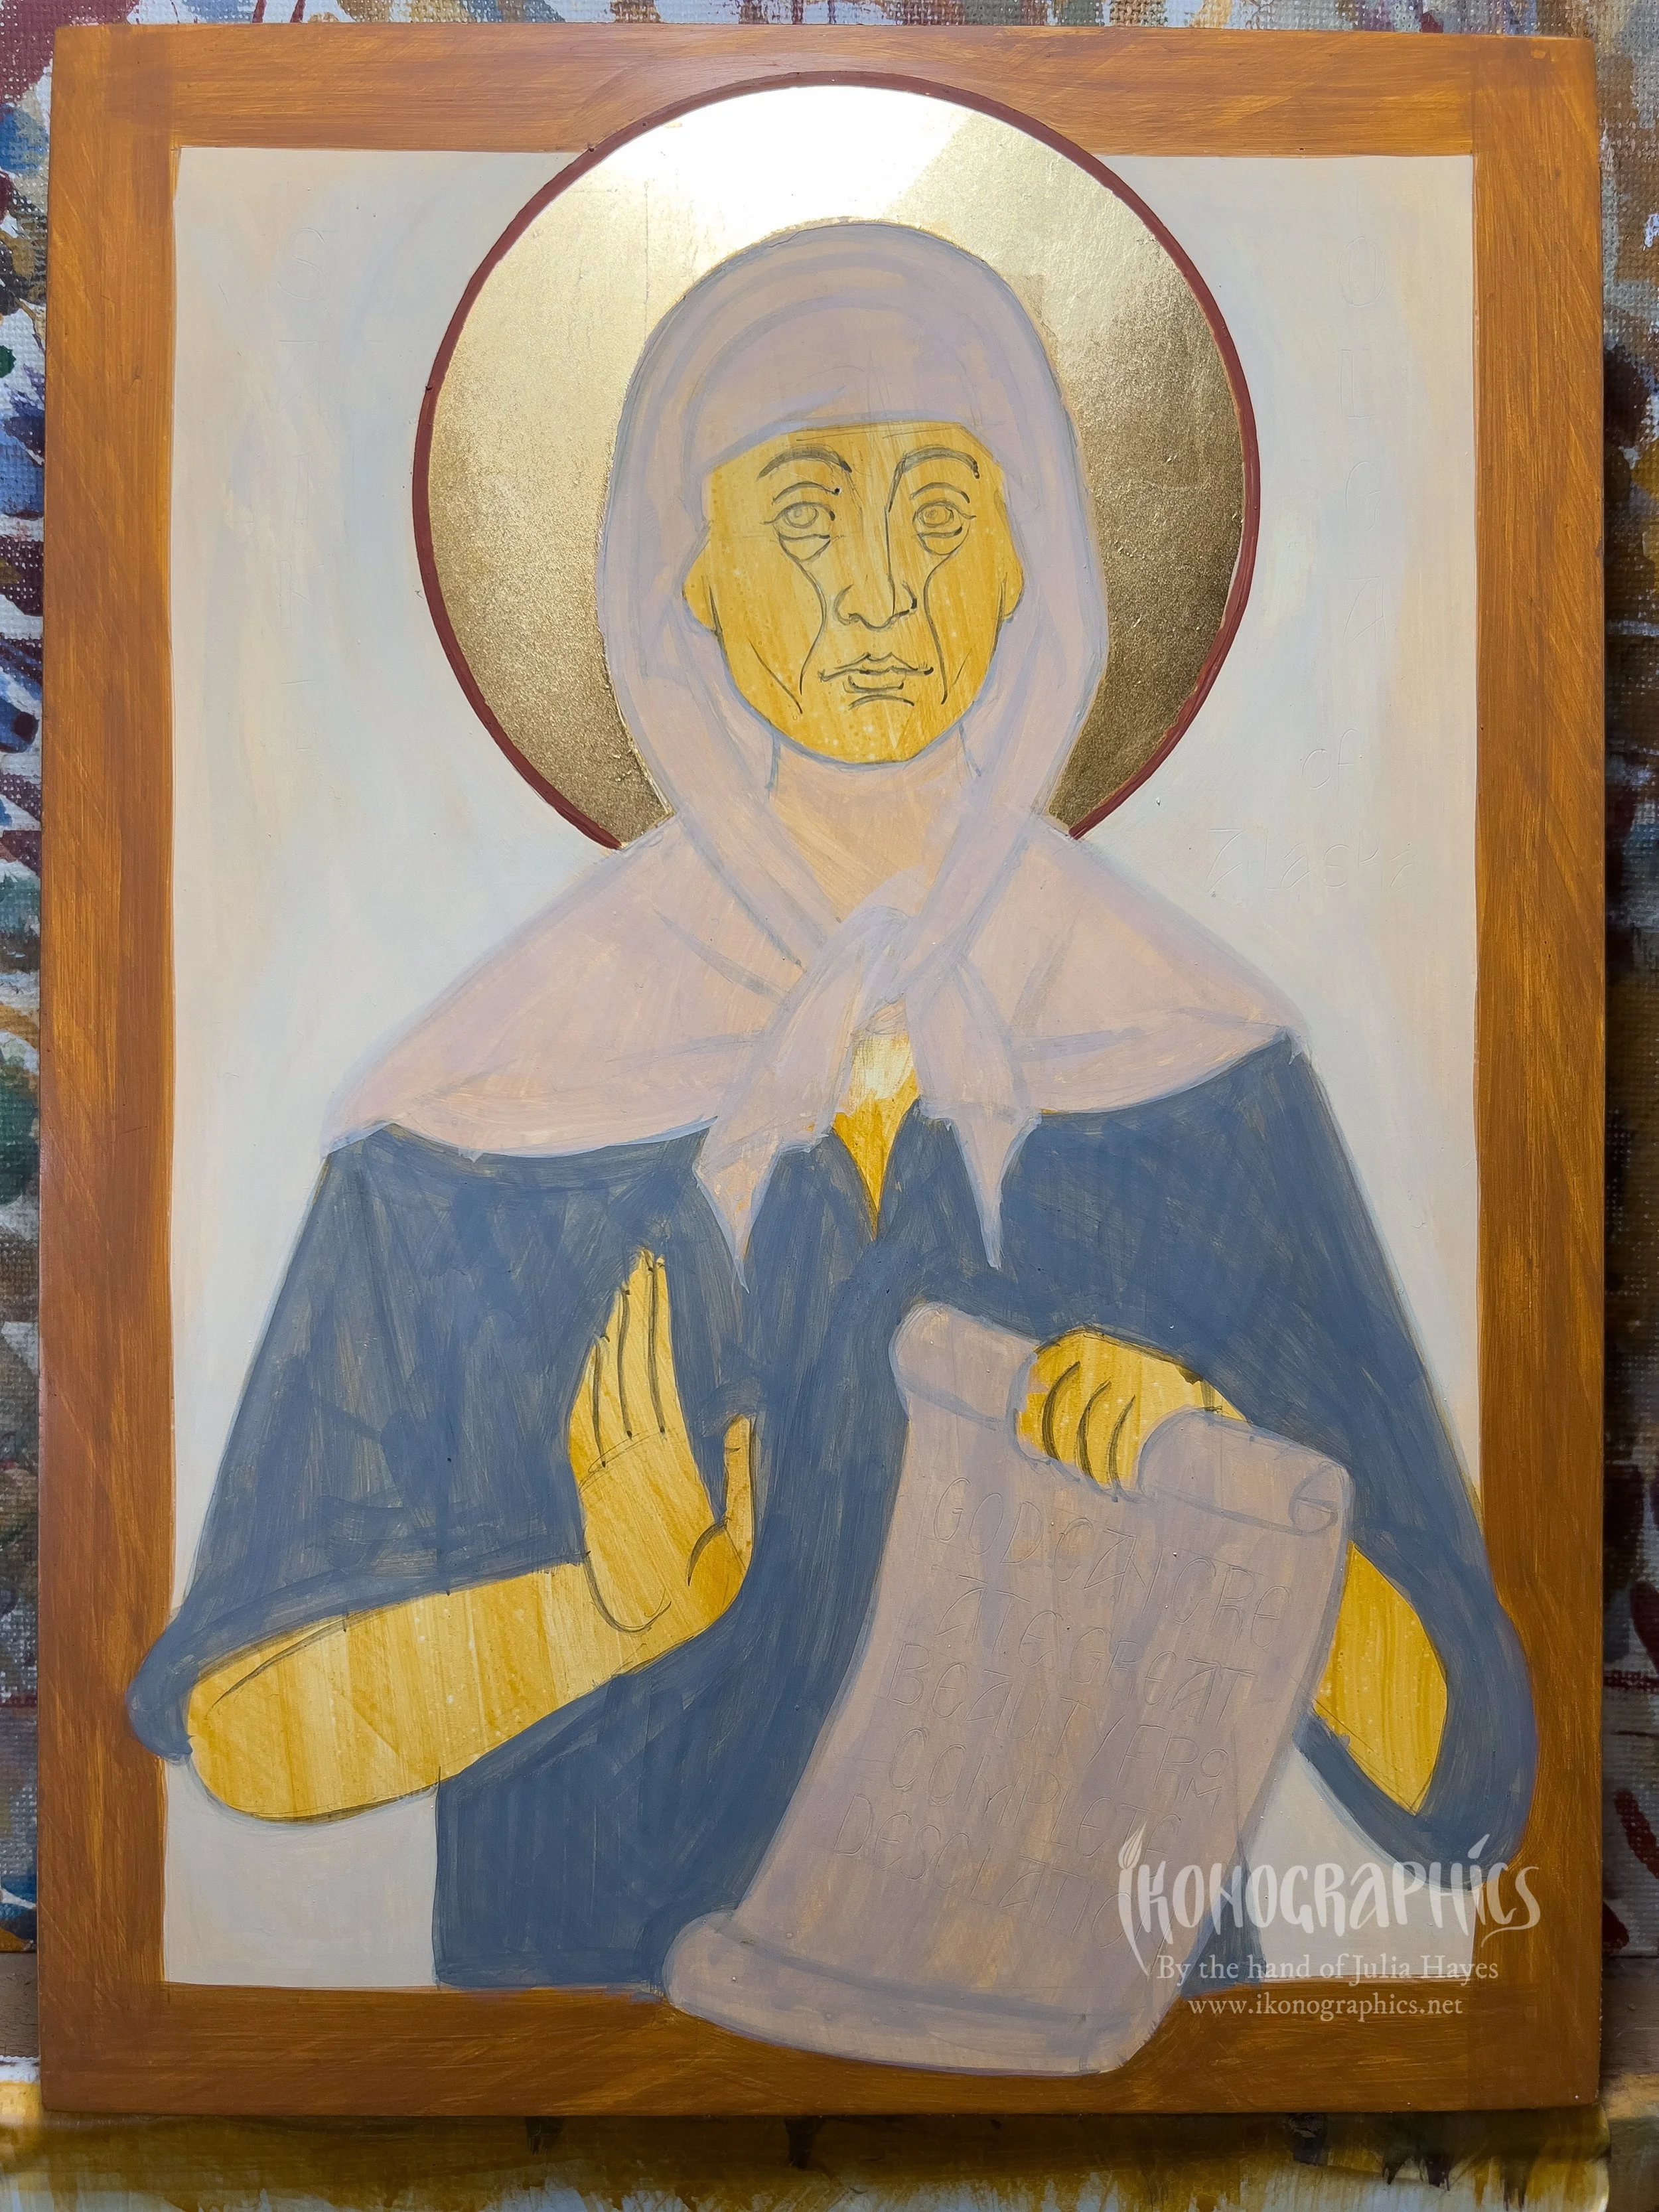
Background and Proplasmoi
For the light background I used white, yellow ochre and just a touch of black.
For the border: yellow ochre, mars red and black .
Proplasmoi:
Blue shirt:The magic of tetrachrome… black+white=blue! Tetrachrome is all about the relationships between colours. The warm yellow ochre and brownish border, bring out the blue colour.
Headcovering and scroll: white, yellow ochre, a touch of mars red and black .
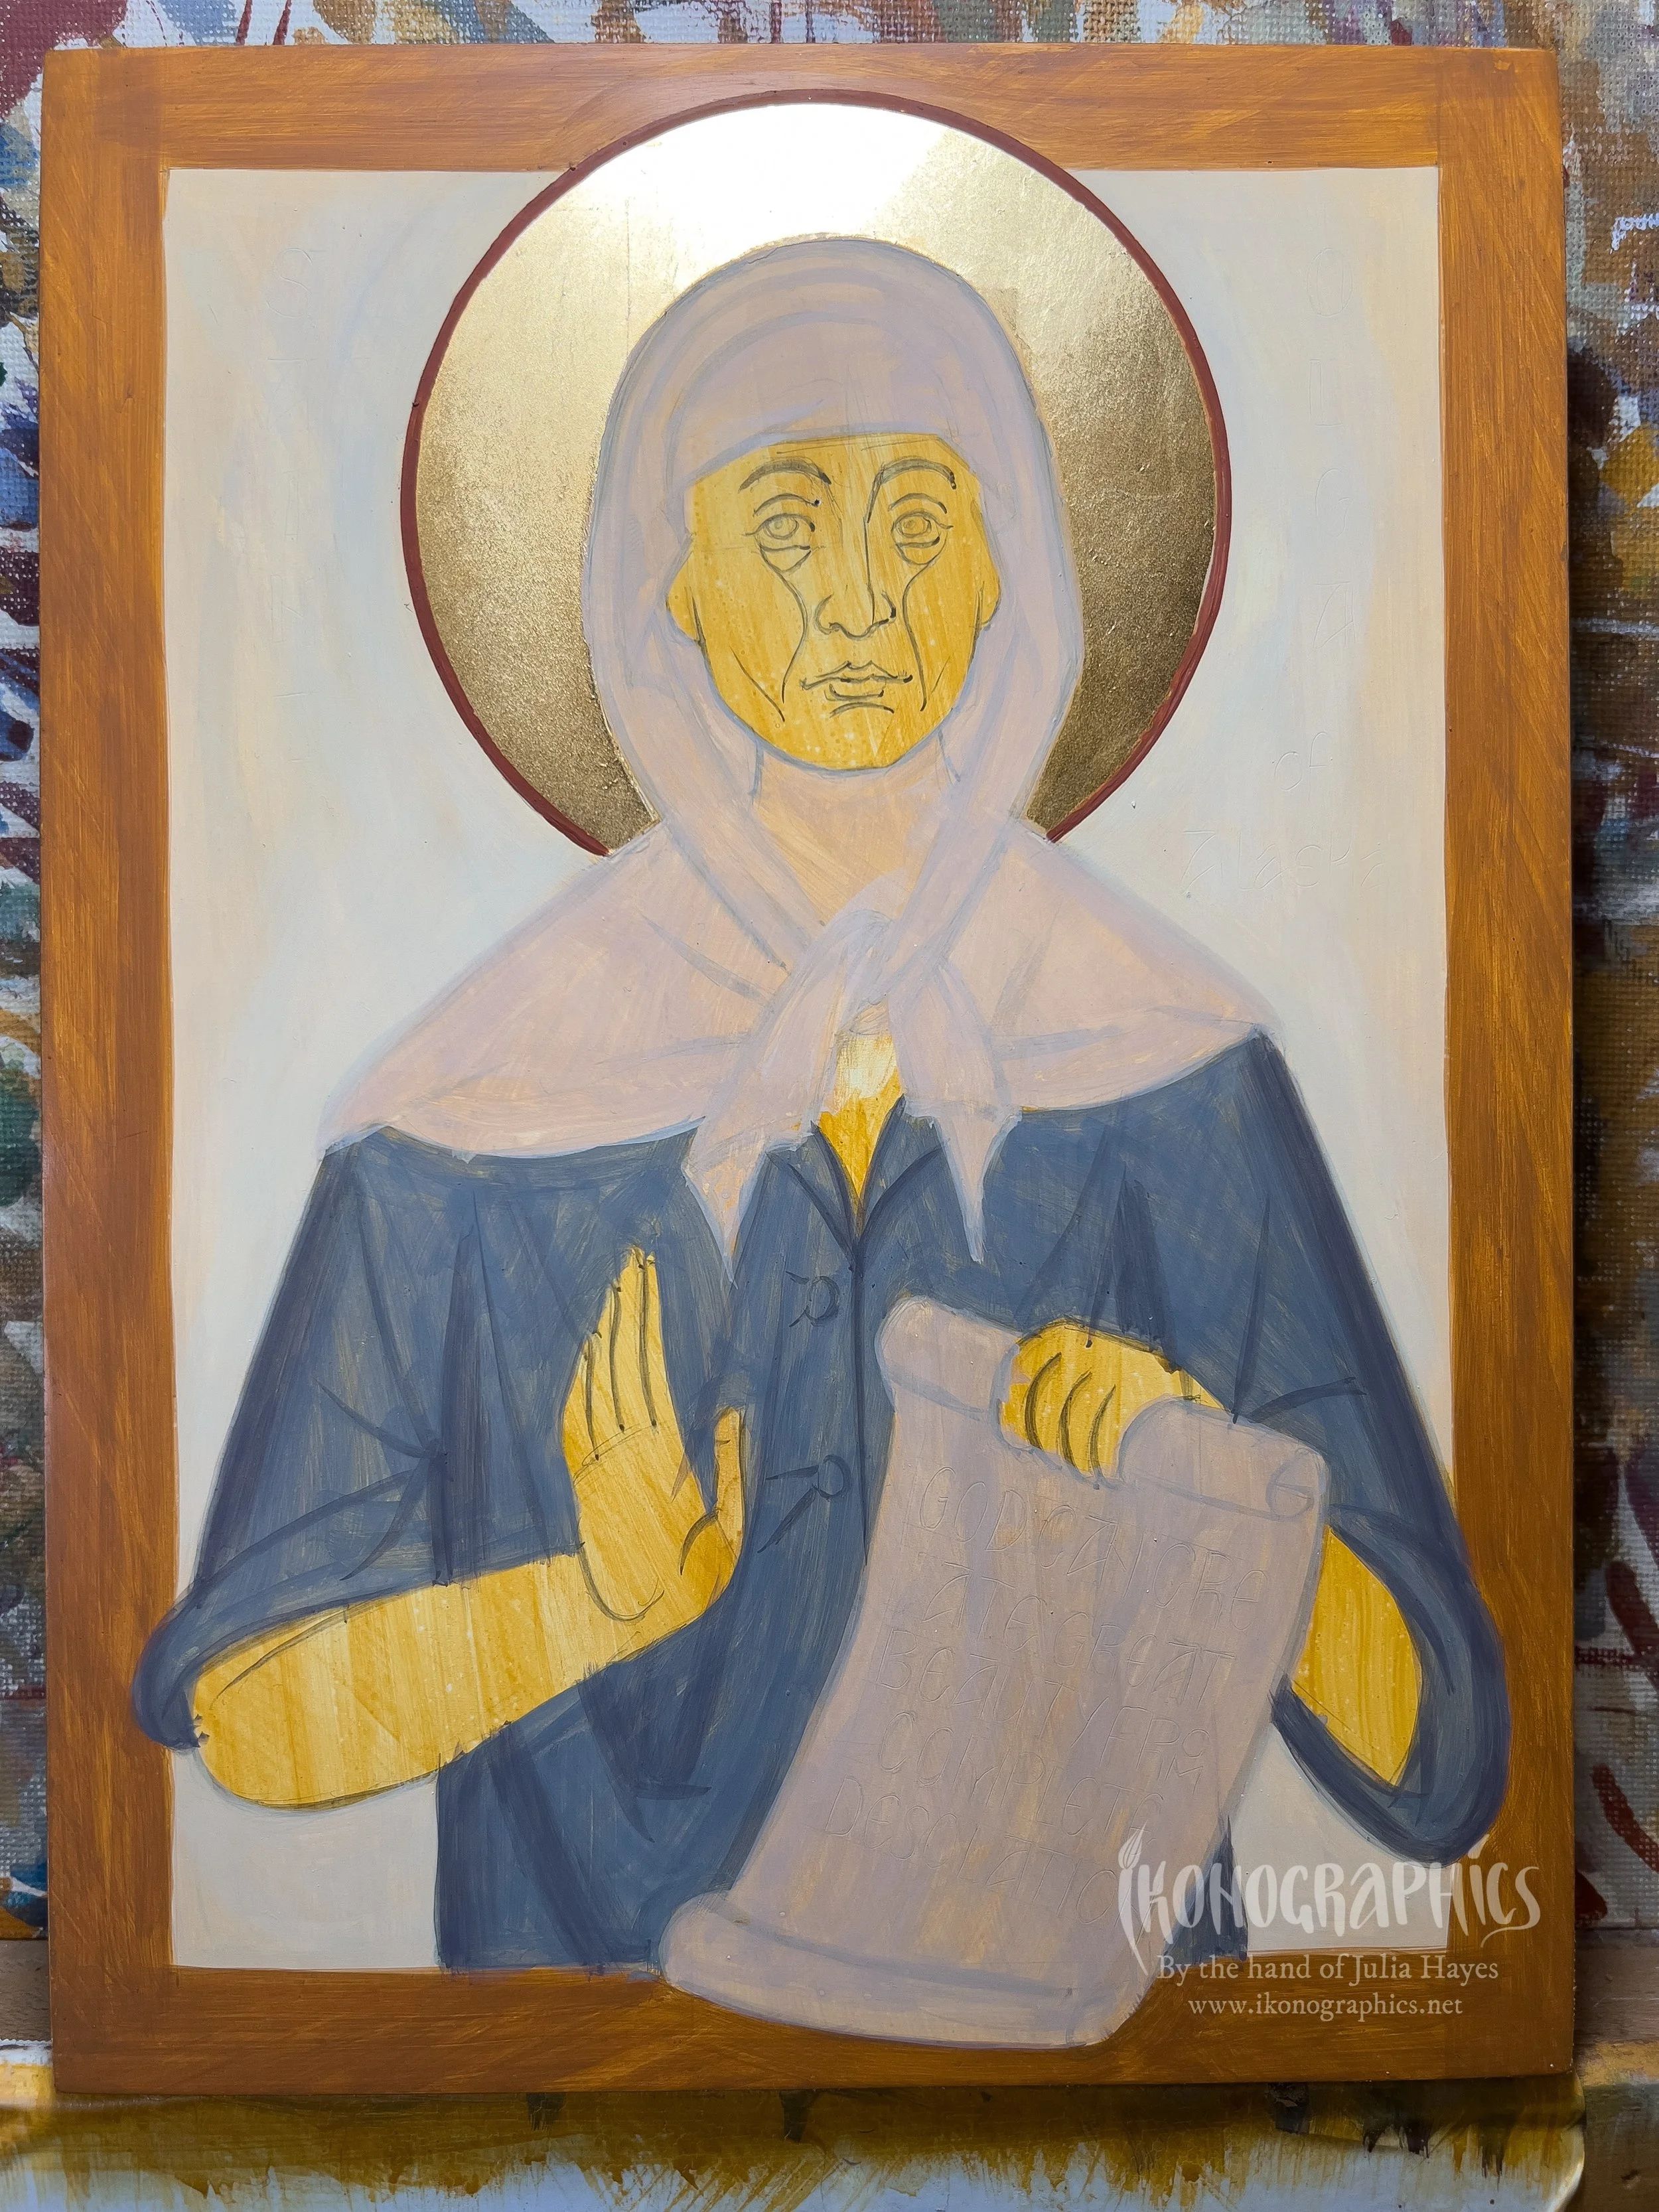
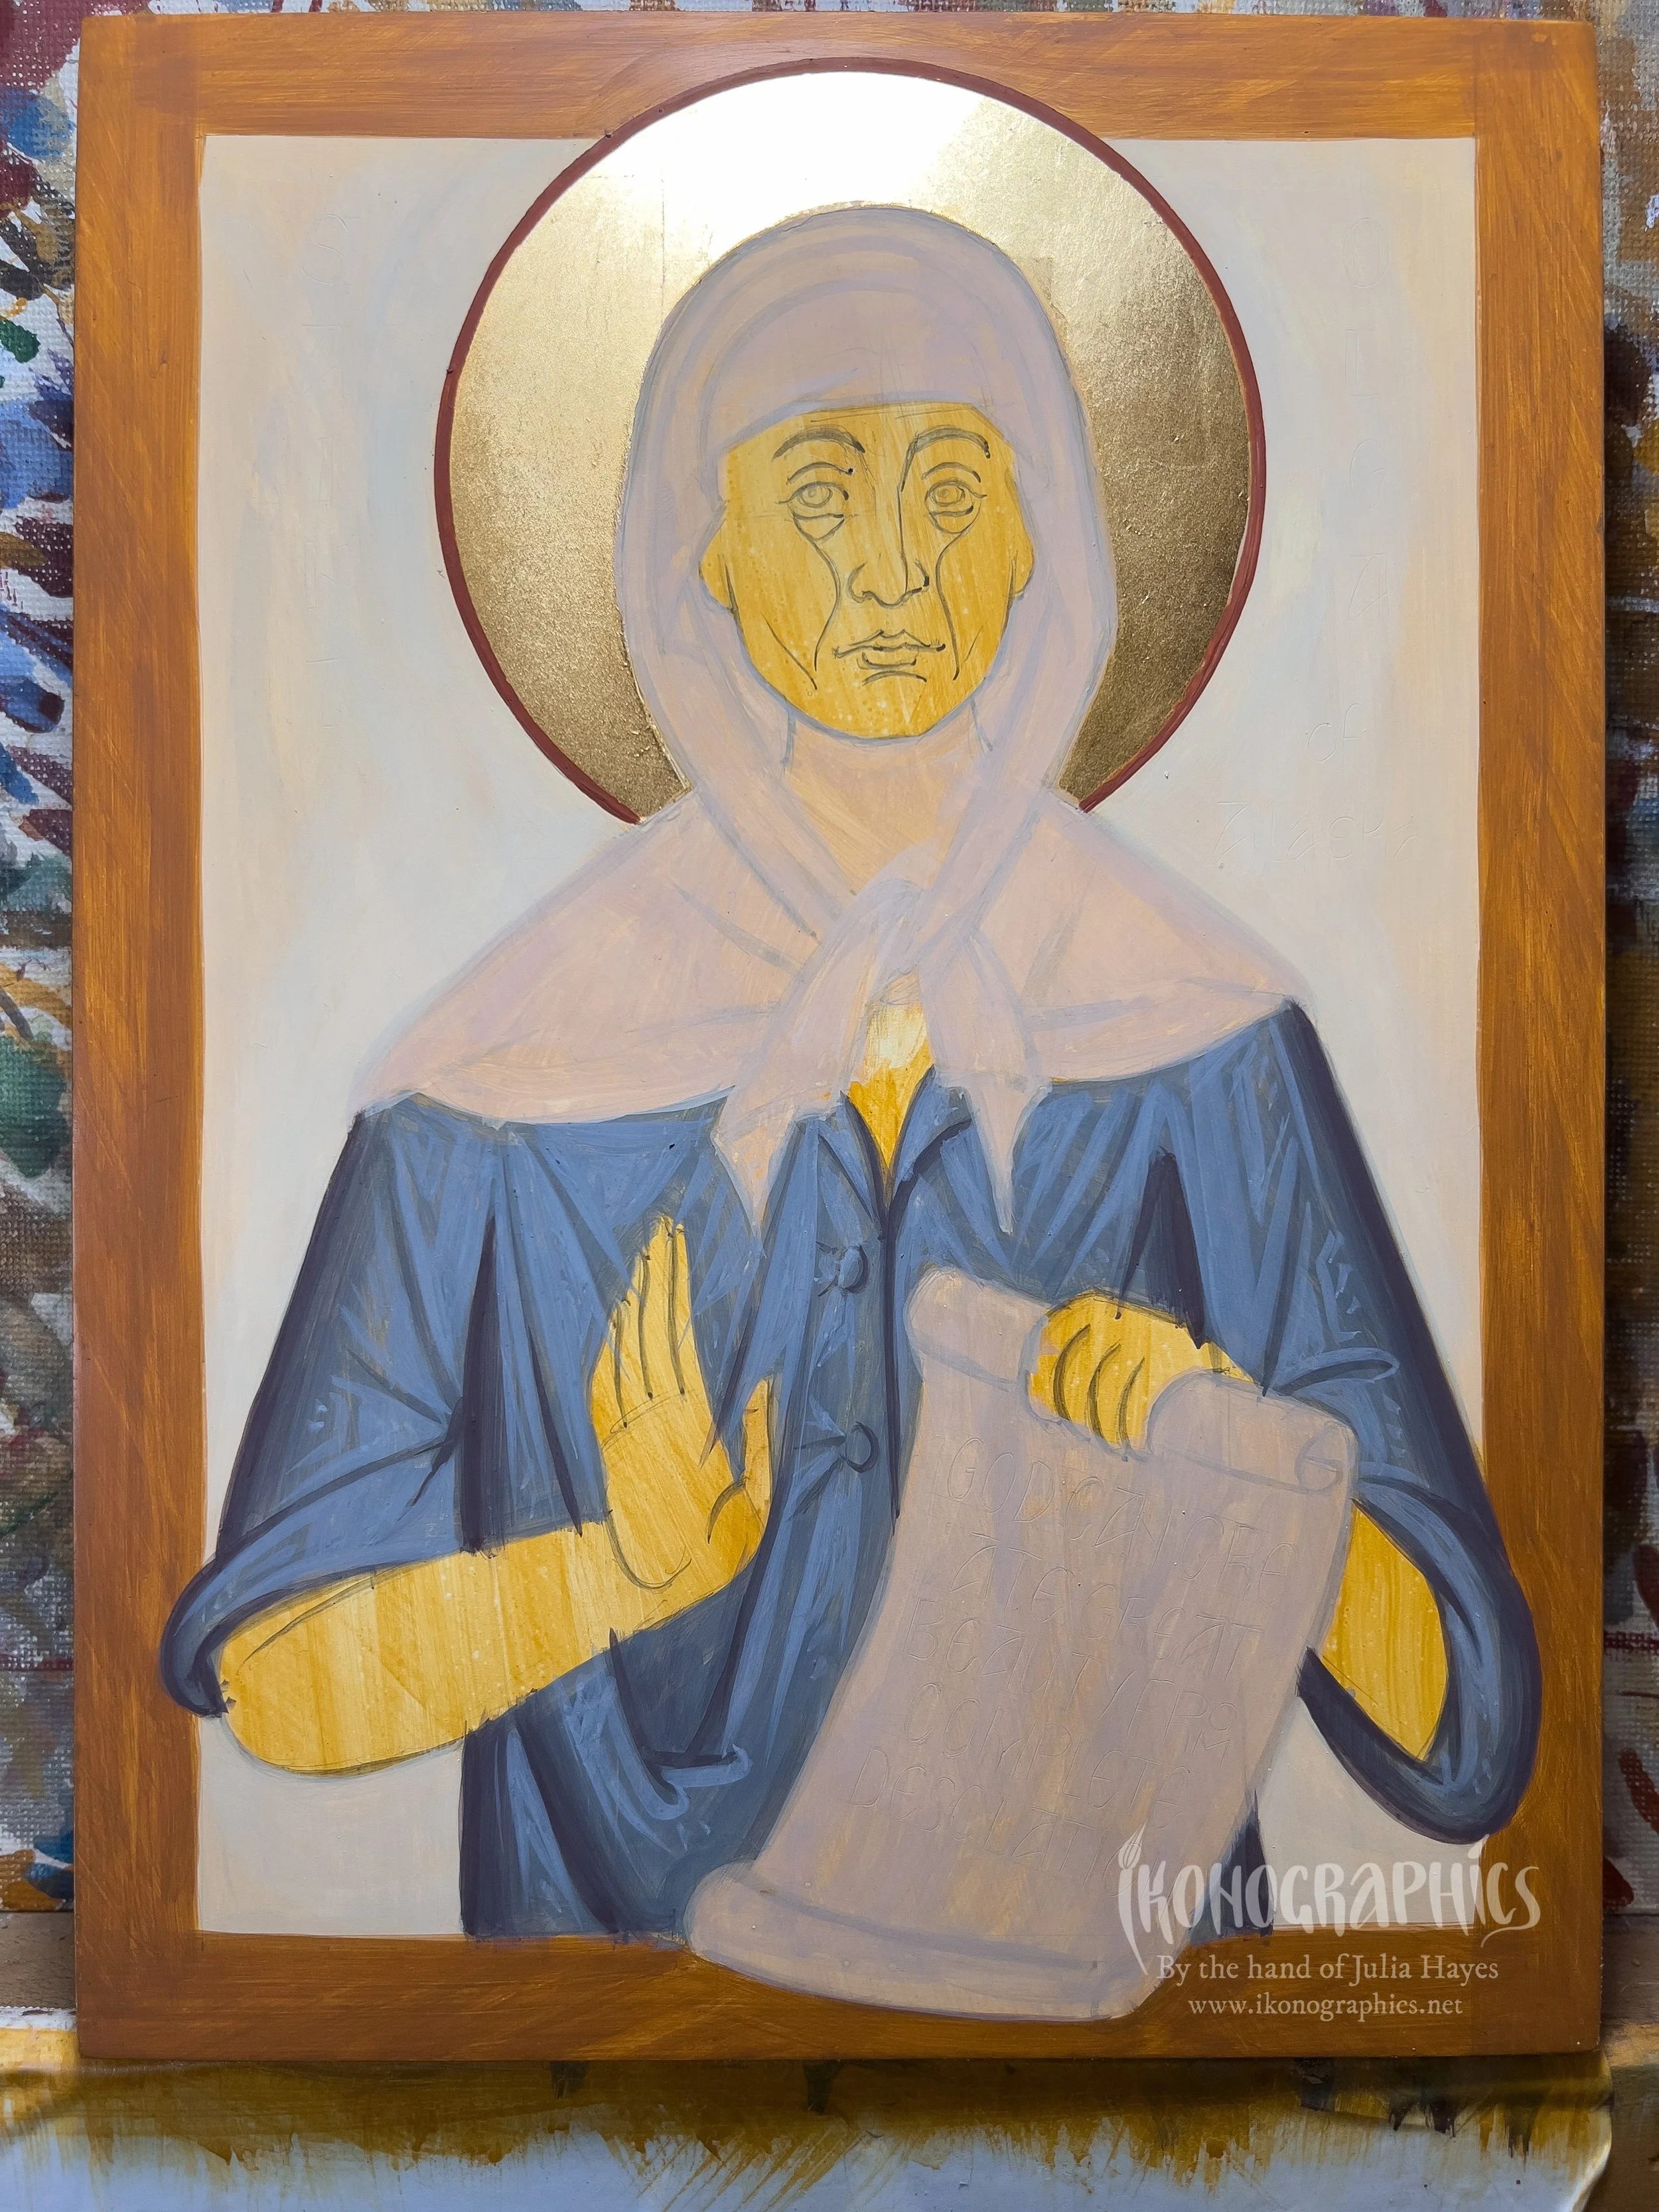
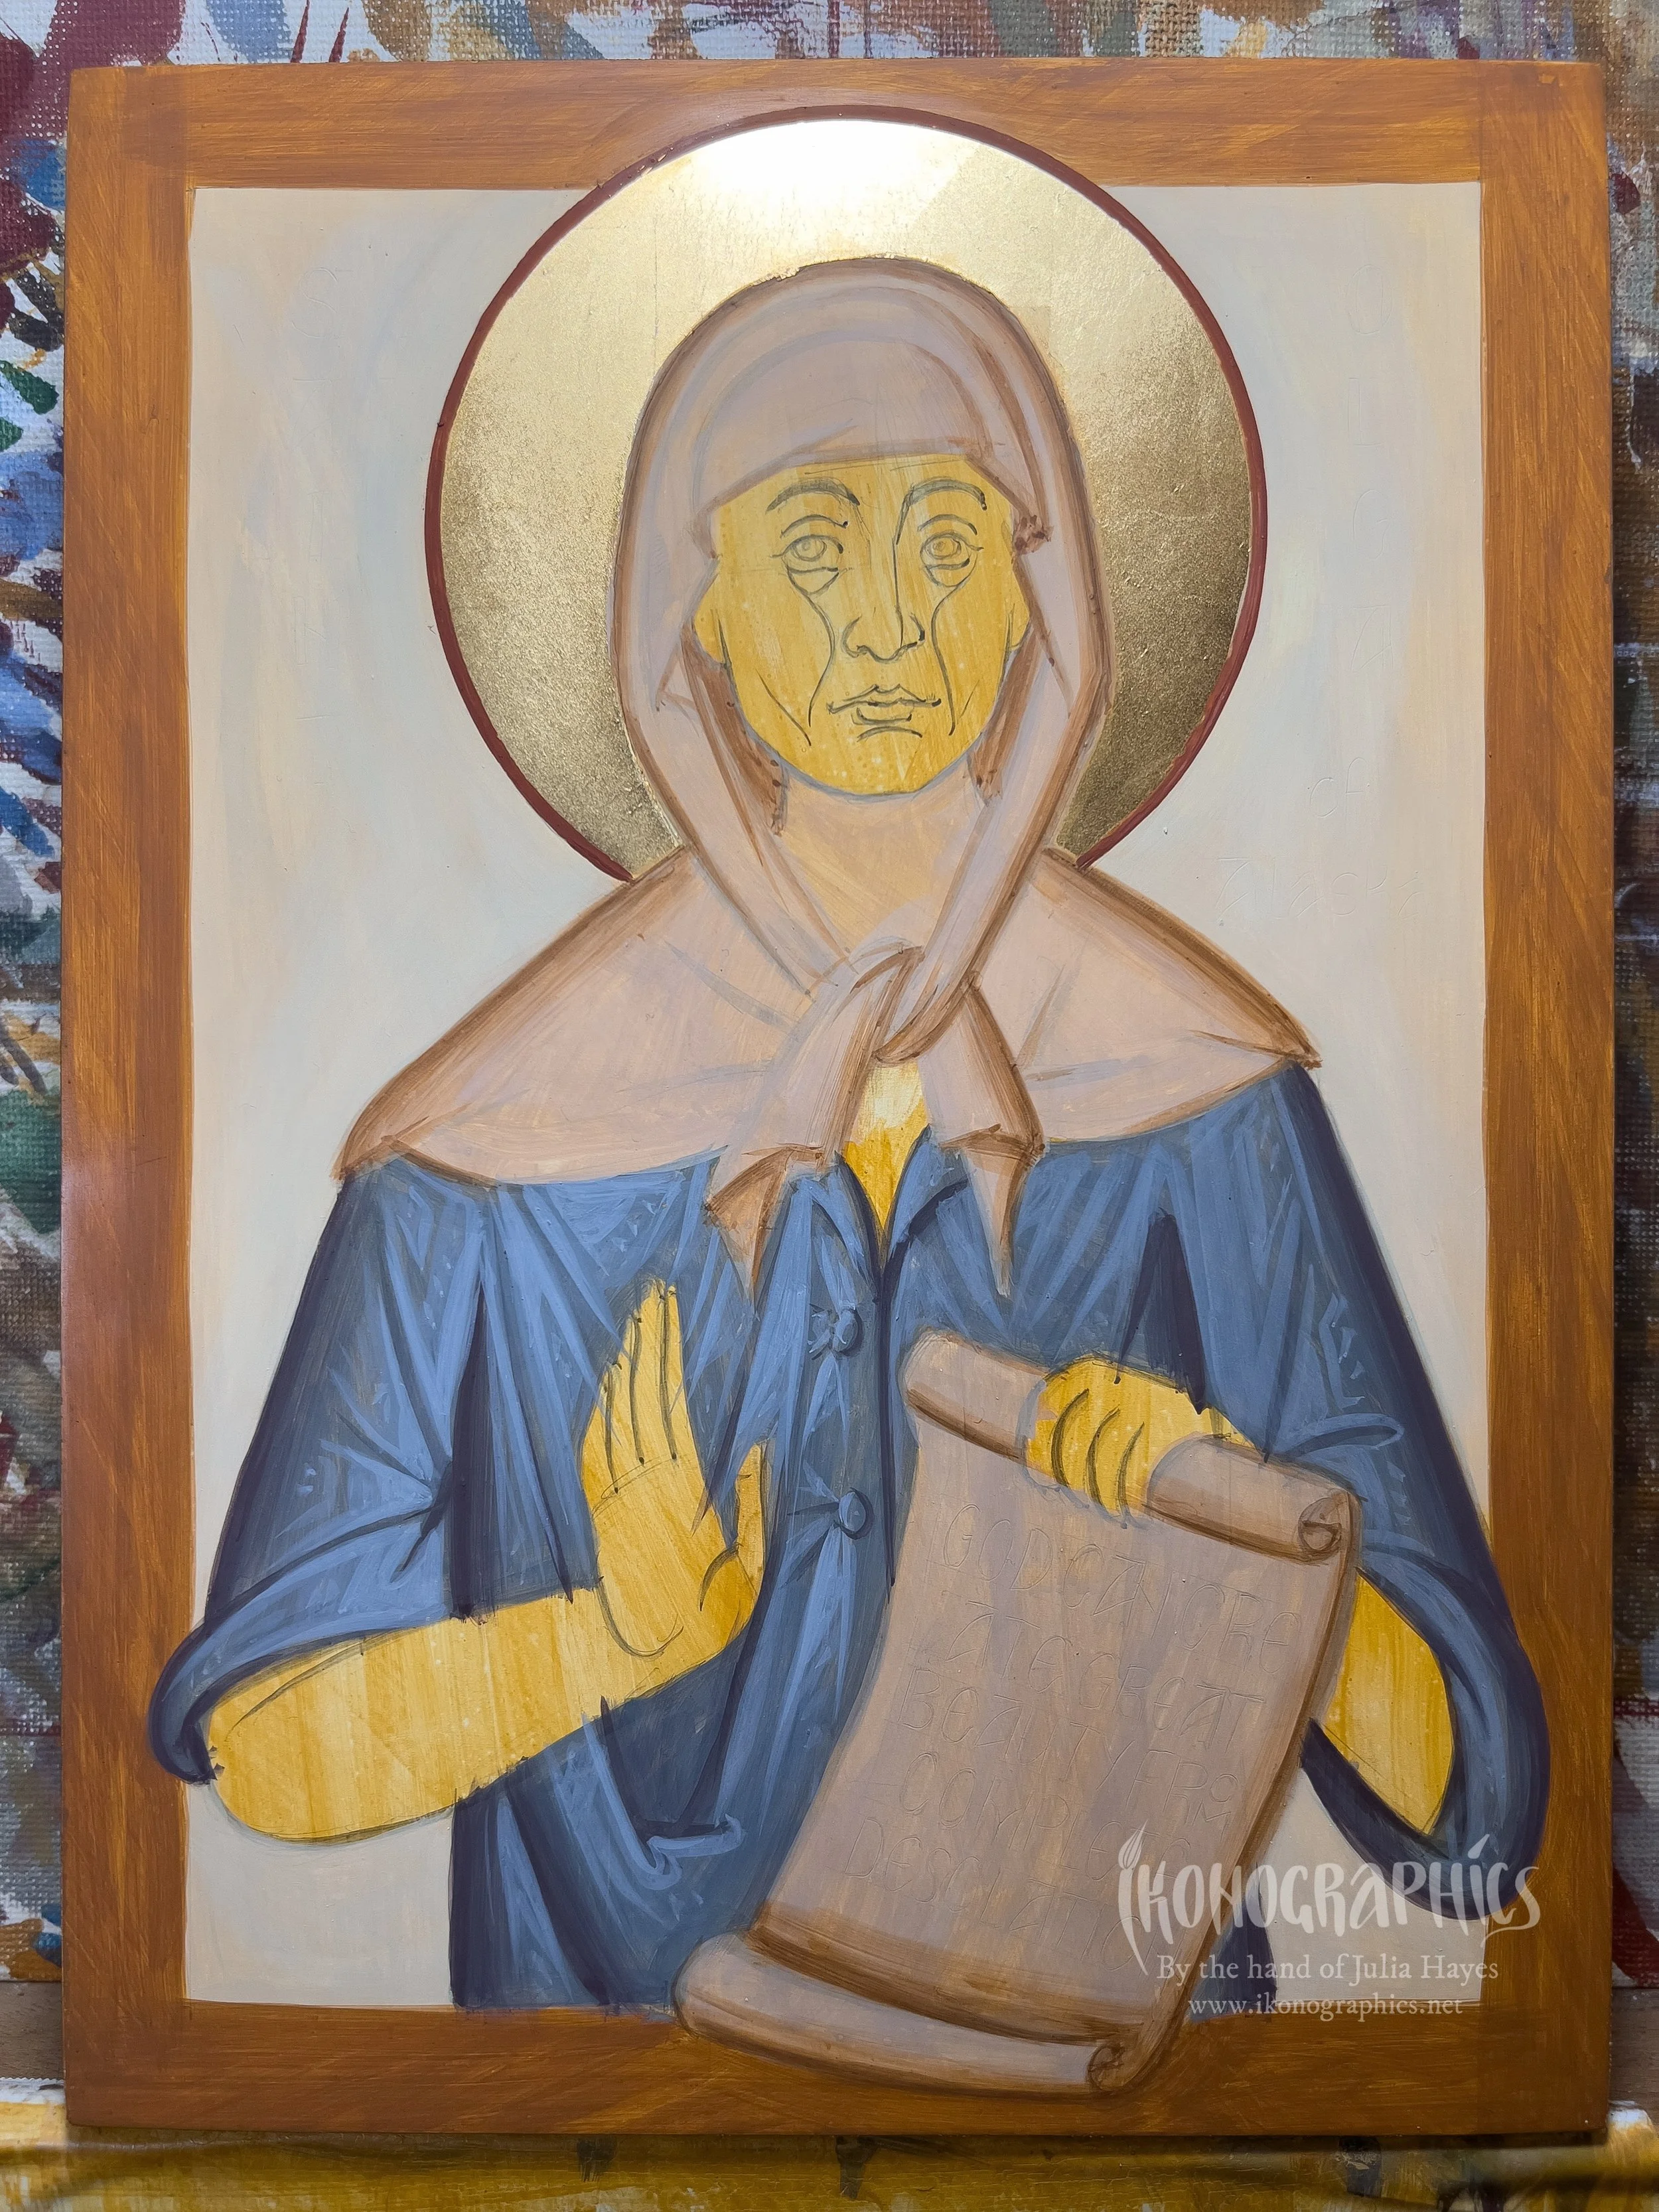
Blue Garment: 1st Grapsimo
For the 1st grapsimo we take a little proplasmos and little black and a touch of medium mars red to warm up the colour a little.
Blue Garment: Grapsimo
Again here we take a little of the 1st grapsimo and add a little black and medium mars red and paint it in the darkest areas.
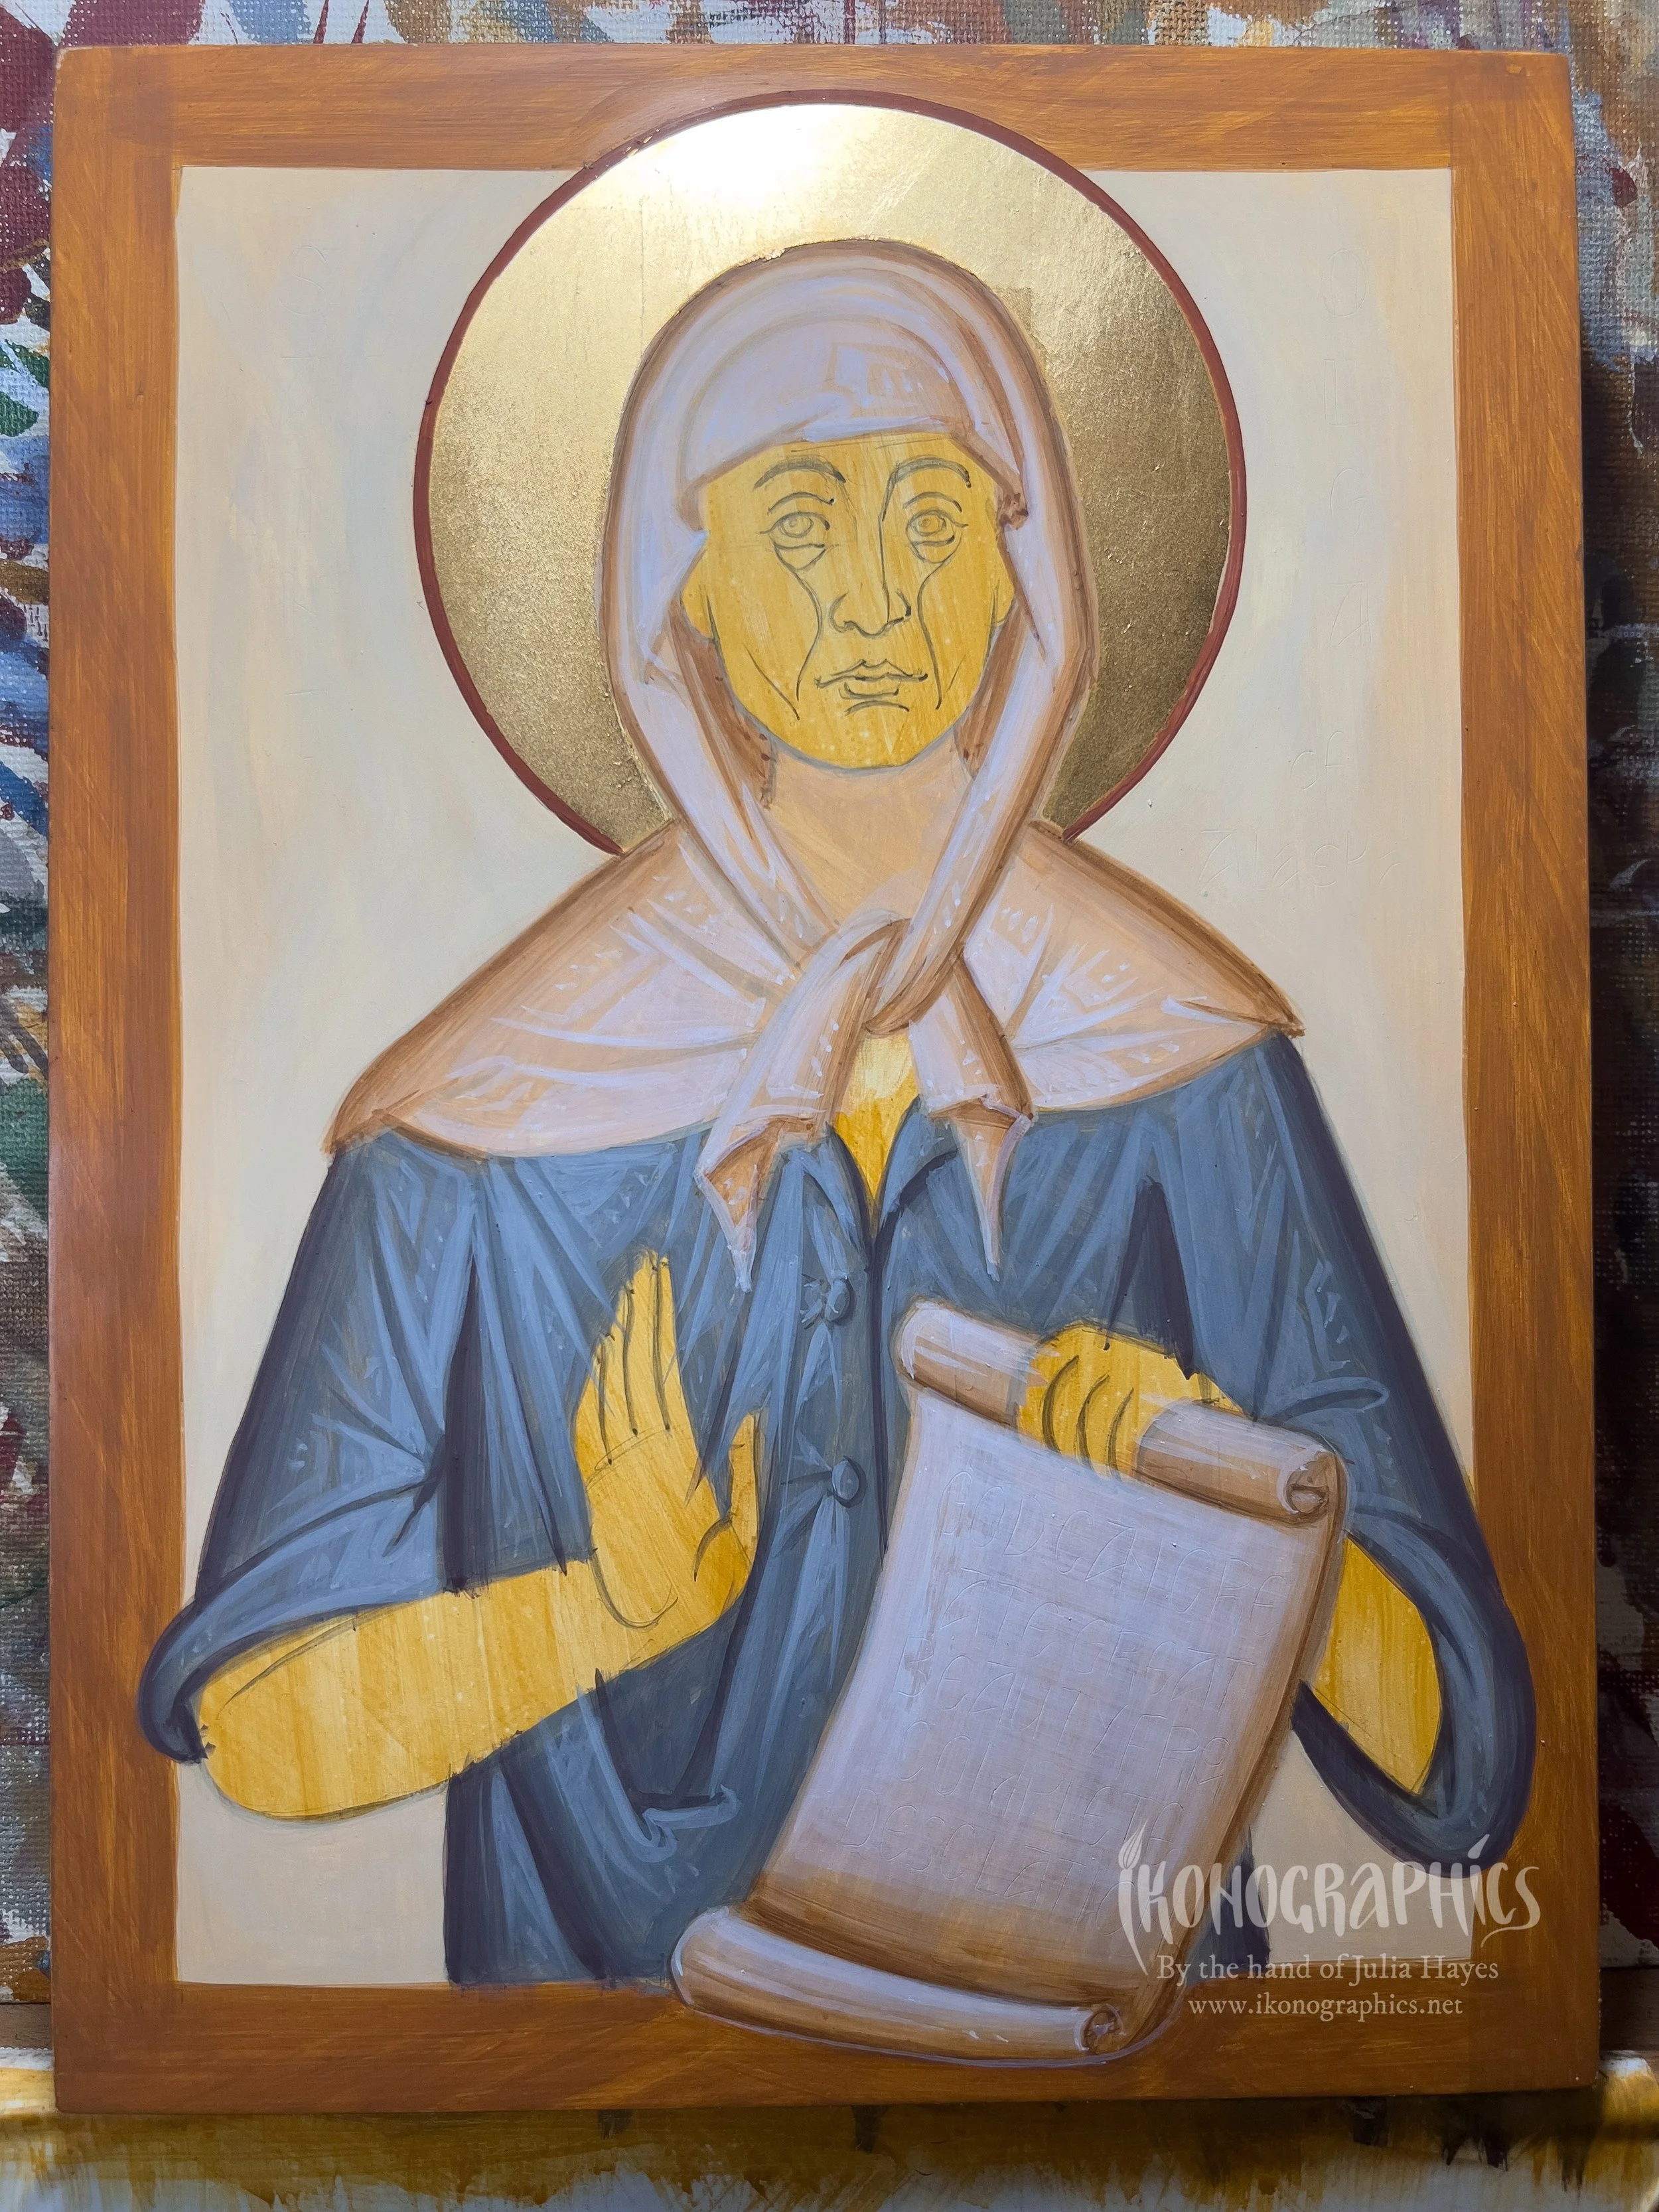
Blue Garment: 1st Photisma
The first photisma consists of the proplasmos + white. We build up the basic forms.
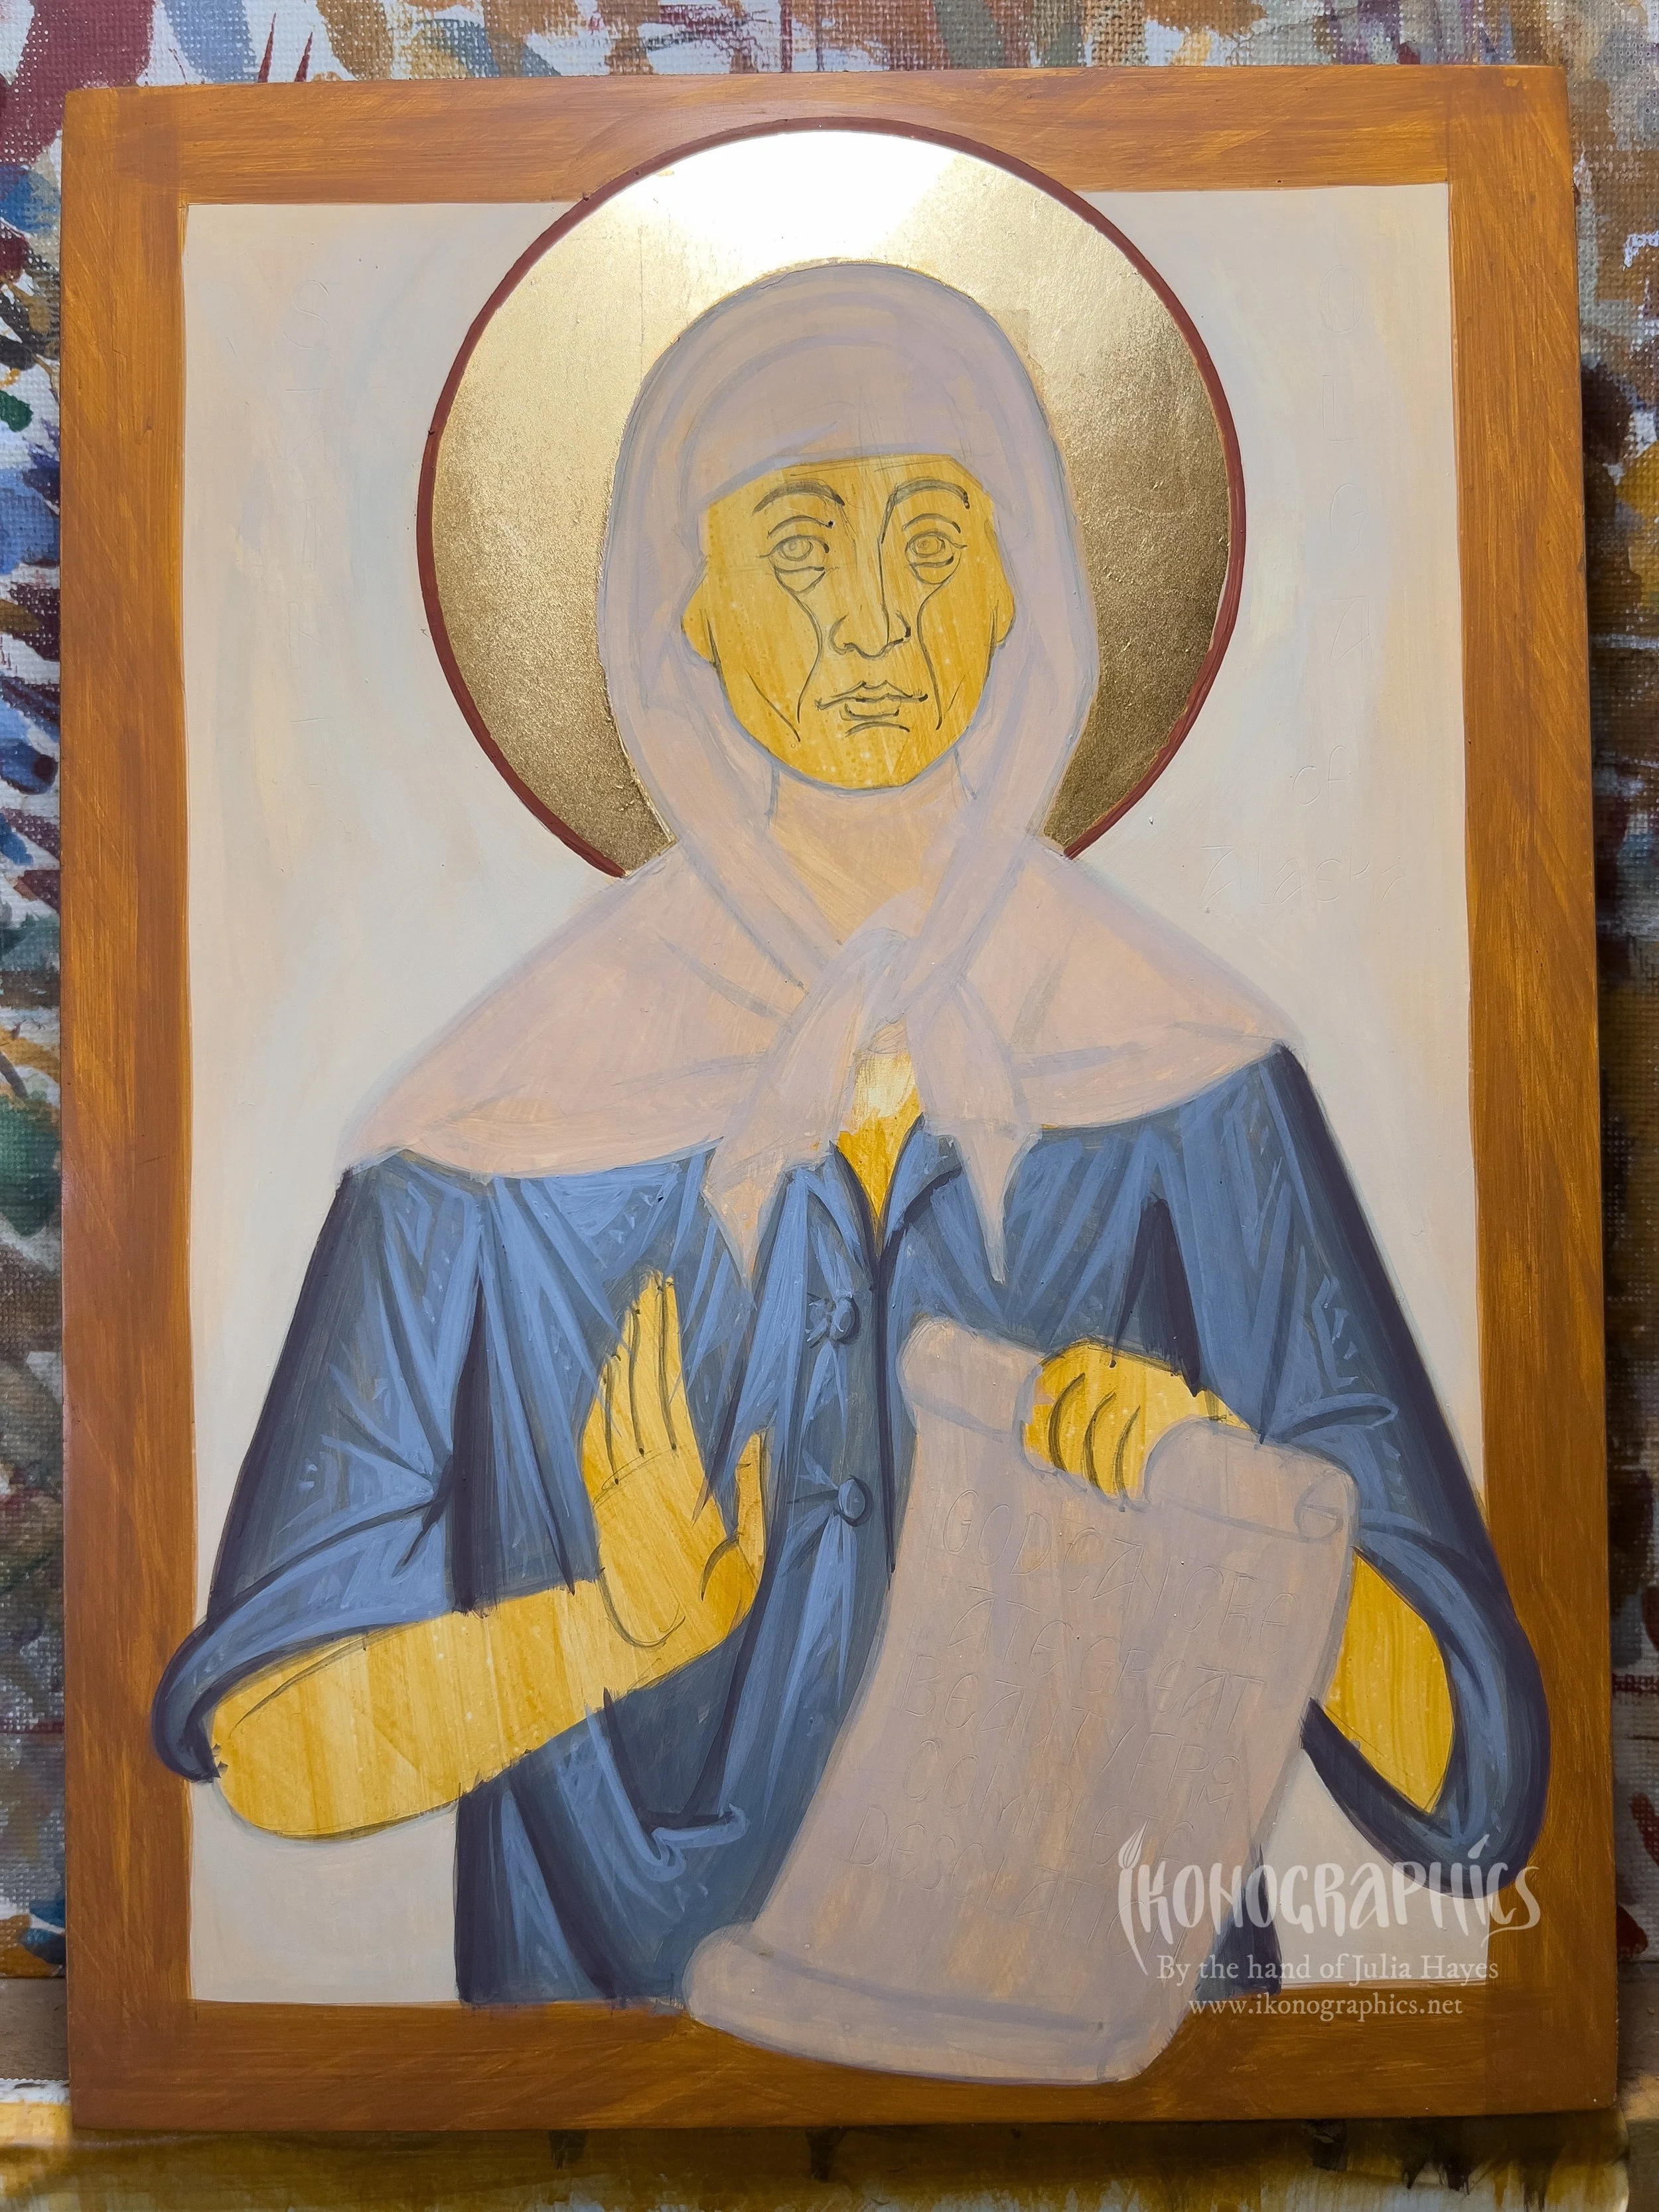
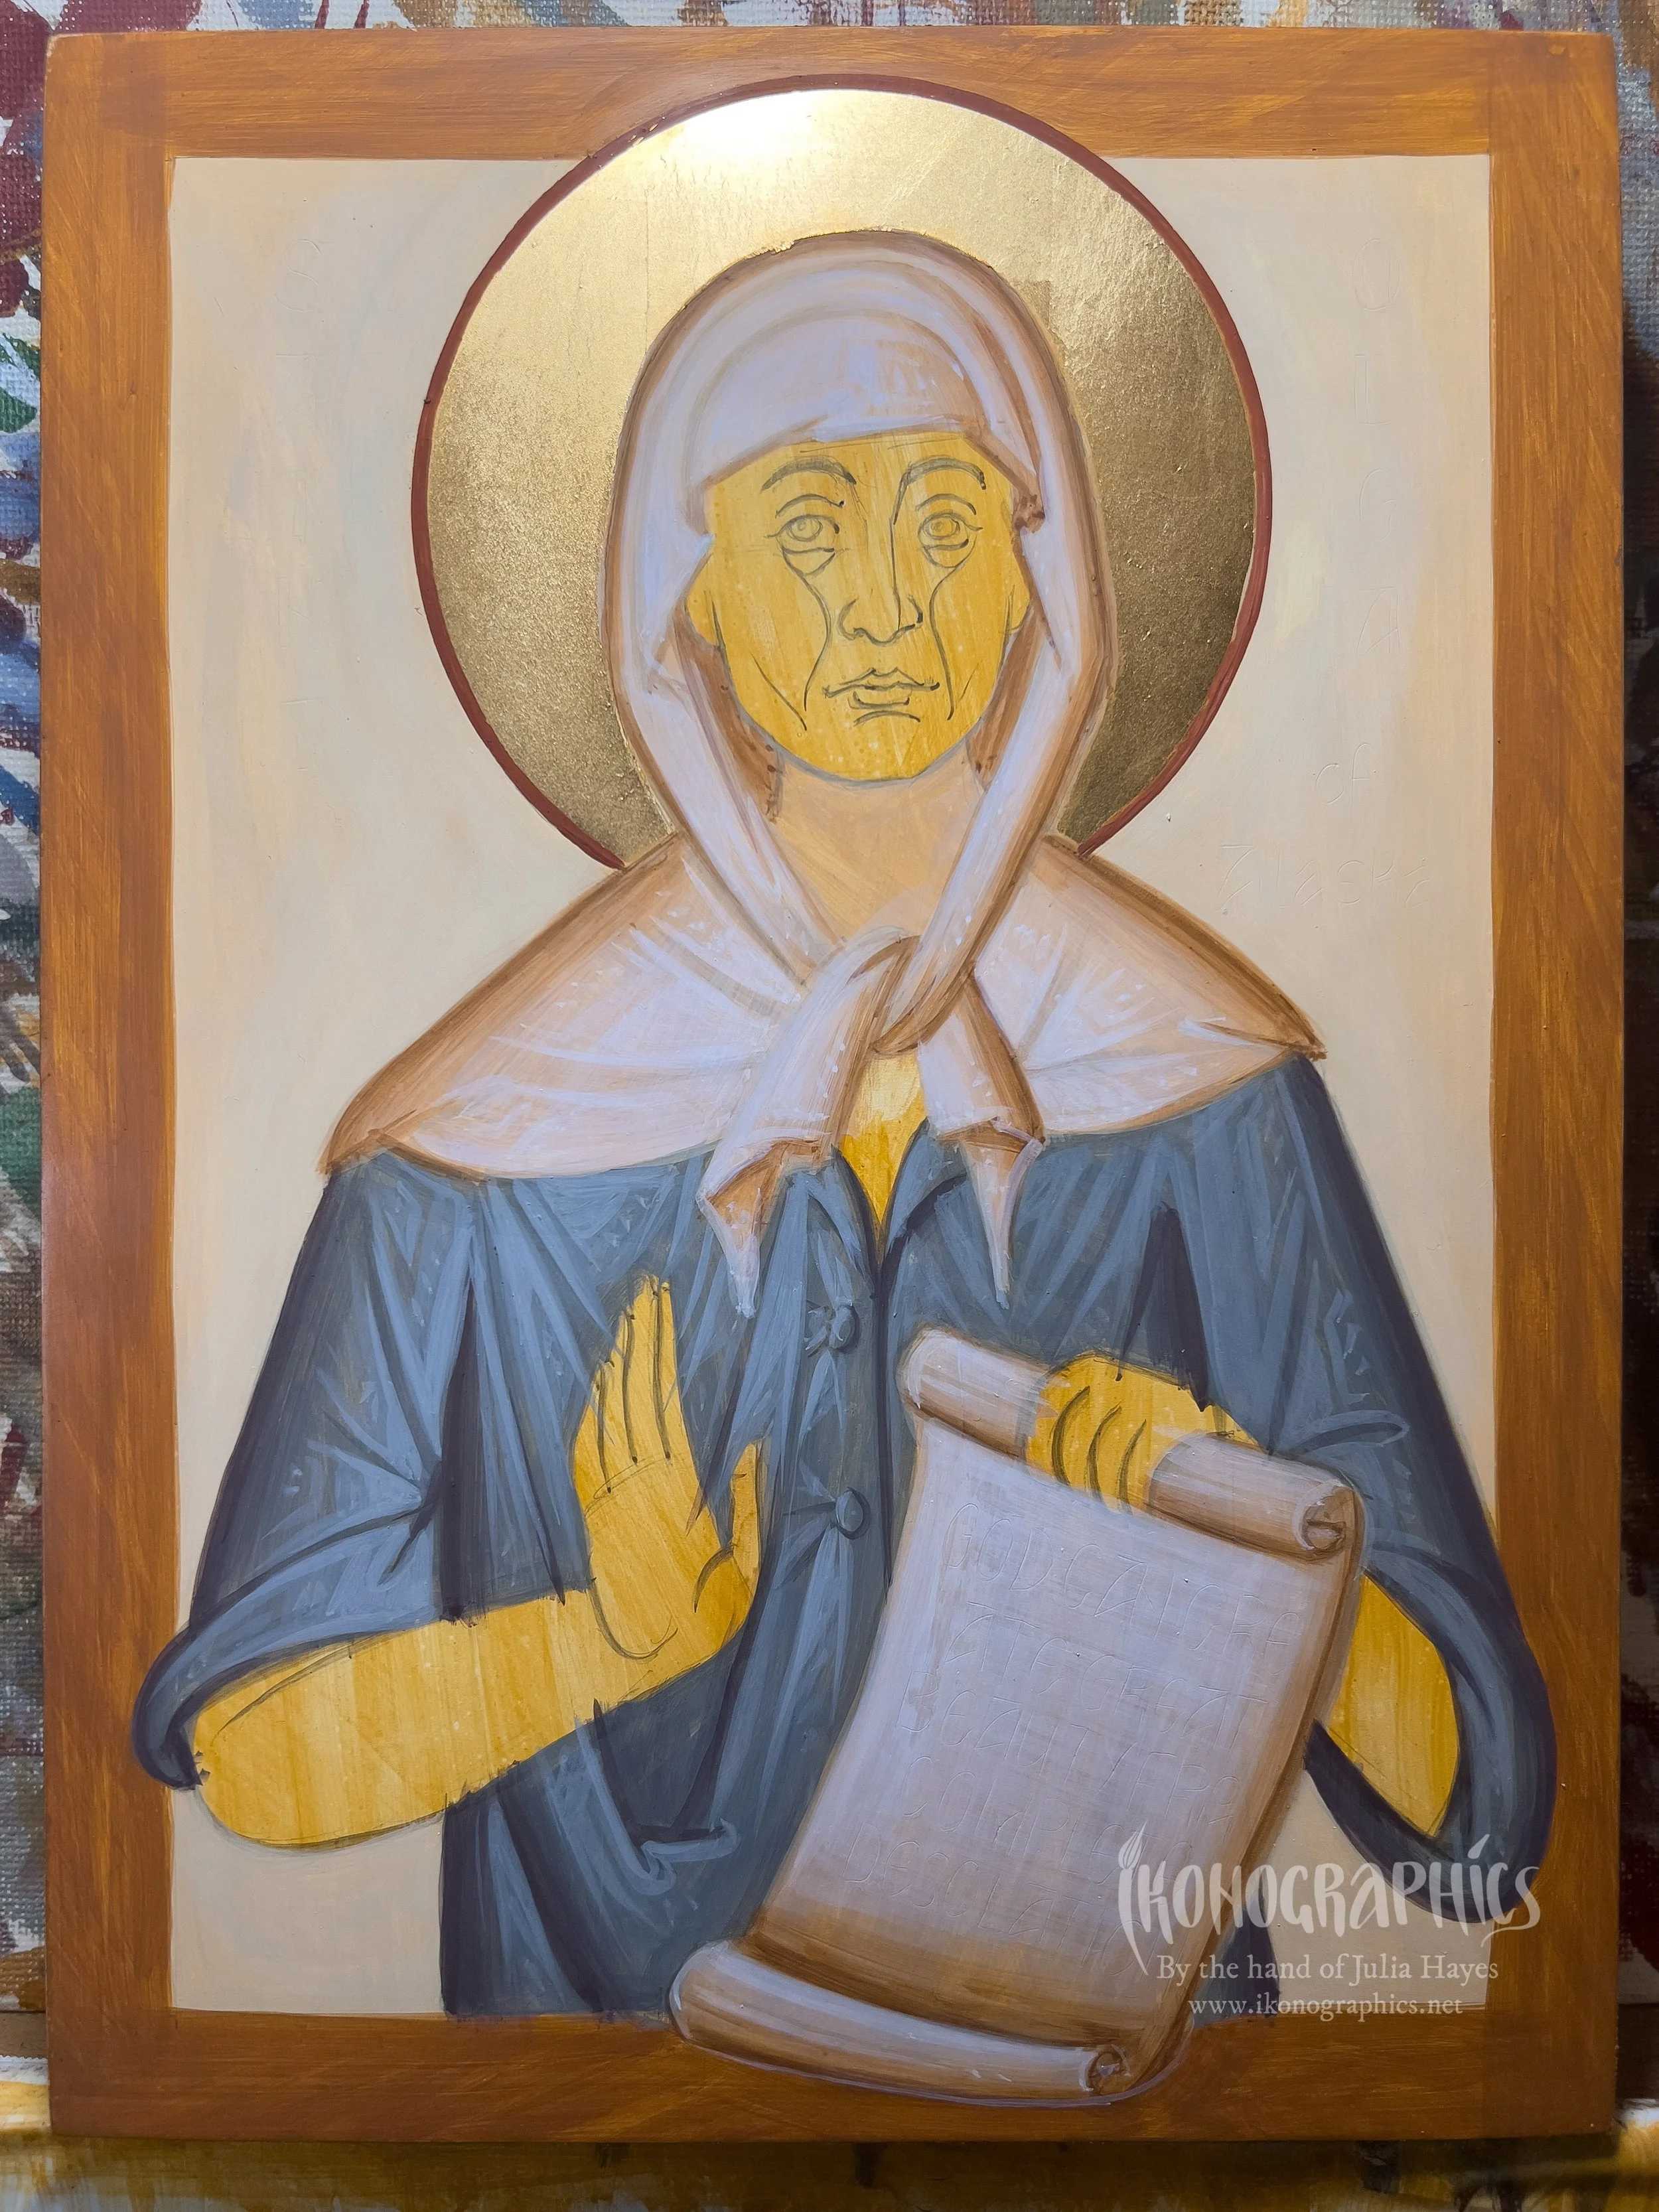
Blue Garment: 2nd Photisma
For the 2nd photisma we add white to the first and build up the forms within the 1st photisma. I’m only doing 2 photismata on this garment to keep it fairly dark.
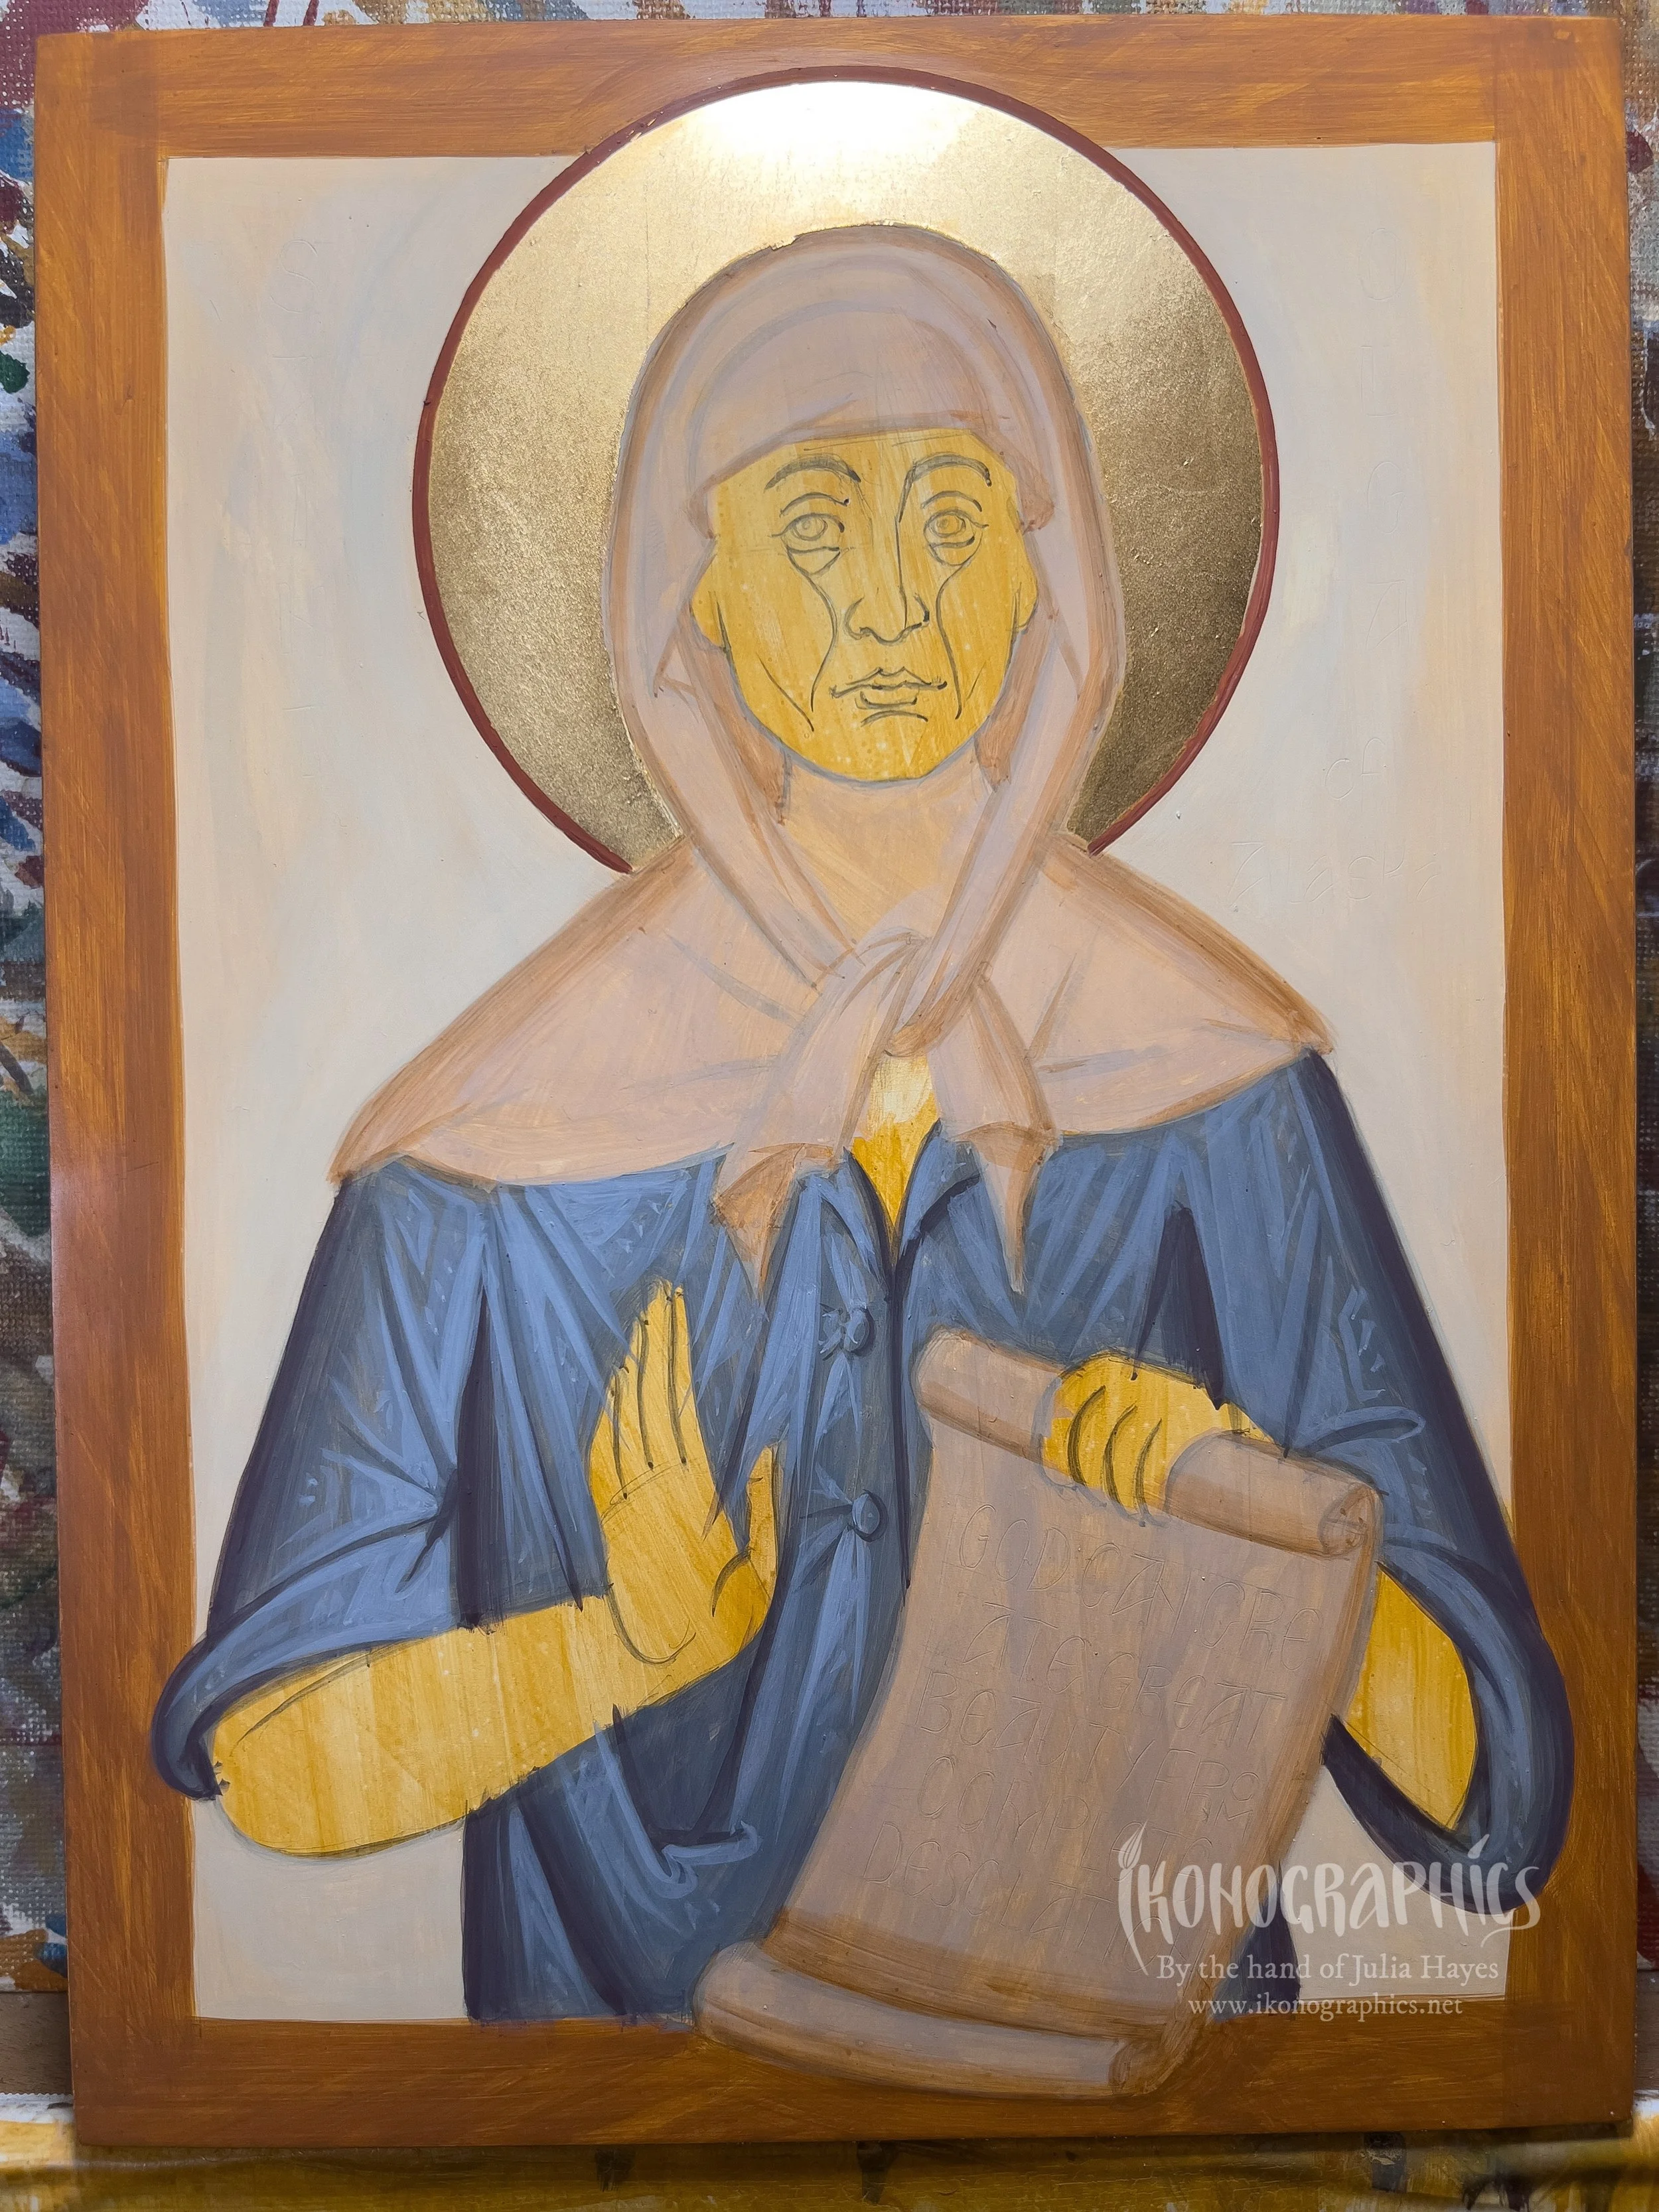
Head covering and Scroll: 1st Grapsimo
For the 1st grapsimo with take a little proplasmos and a a little mars red and black. We paint the sketch (except for in the lightest areas) and blend into the proplasmos.
2nd Grapsimo
For the 2nd grapsimo we add a little more red and black to the 1st. We build this up in the darker areas within the 1st grapsimo.
3rd Grapsimo
We add a little more black to the 2nd grapsimo and paint this only in the very darkest areas.
1st Photisma
The 1st photisma is pure titanium white that that is fairly transparent. With this we build up the main forms.
Glaze
We dilute the white to create a glaze with which we unify the forms without losing them.
2nd Photisma
For the 2nd photisma we add more pigment so that it is a thicker consistency and build up the forms within the 1st photisma, only on the lighter/broader side of the garment, so that it projects more towards the viewer..
If you enjoy my content consider buying me a cup of Kofi: https://ko-fi.com/ikonographics

