Painting St Olga of Alaska: Face
St Olga pray for us!
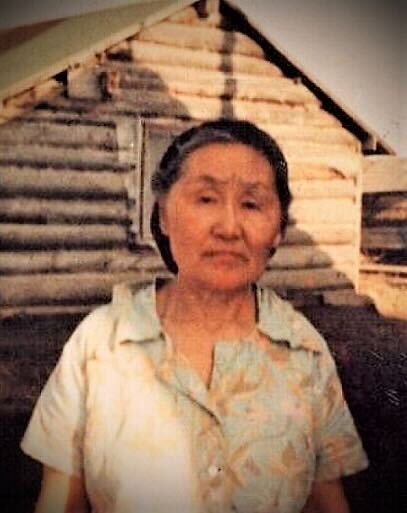
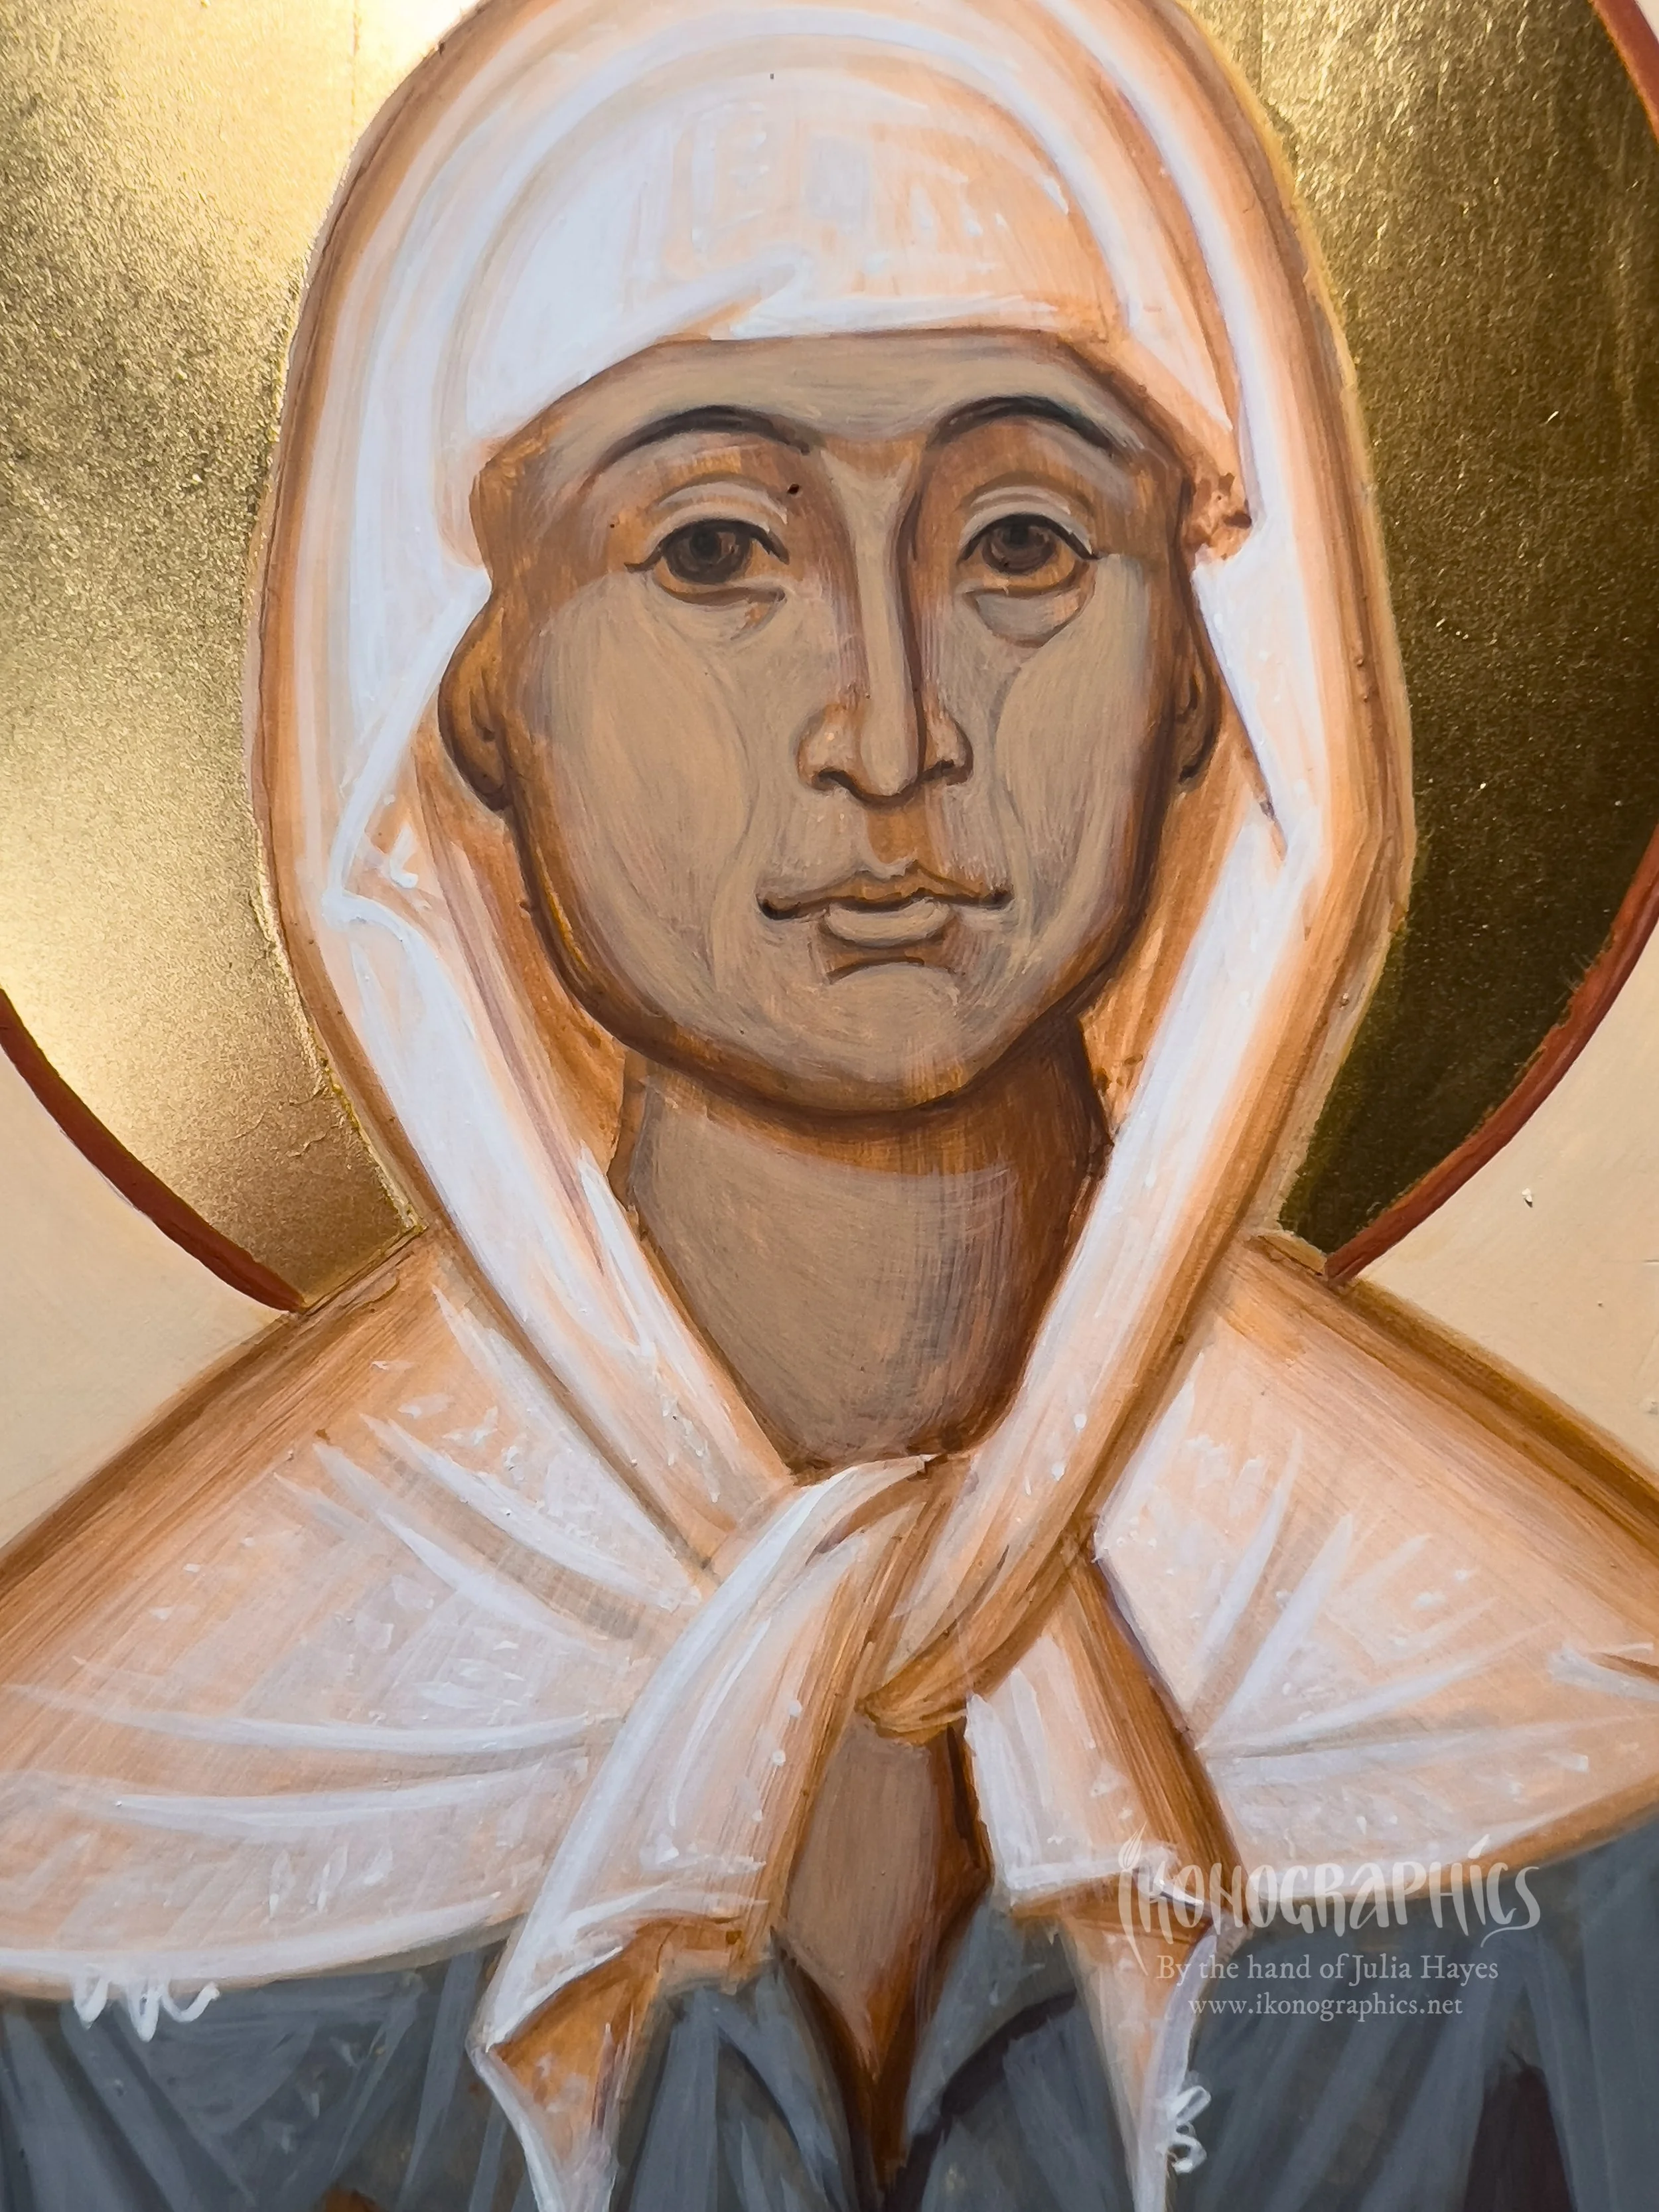
In this second tutorial on Painting St Olga of Alaska (see Part 1 here) I will take you through painting her face step-by-step. Painting St Olga was probably one of my most challenging icons. I have mentioned in other tutorials how difficult it can be to paint contemporary saints precisely because we have photographs of them. Many iconographers fall into the temptation of trying to paint their faces naturalistically and their garments in a byzantine manner which ends up looking like bad Photoshop. It’s difficult to strike a balance between maintaining their features while also giving their features a byzantine rhythm, creating the sense of harmony and projecting the forms into the same time and space as the viewer, making them present. This was even more difficult was the fact that St Olga’s Yup’ik features are different to those typically found in byzantine icons, so I have included a Timelapse video of the sketch I did over her face to try to create the byzantine rhythm without losing her features.
Proplasmos
We cover the face, arms and hands in the same proplasmos make from yellow ochre, mars red and black.
1st Grapsimo
We make the first grapsimo with mars red and a little black to create a brown colour with which we paint in the facial features and build it up in the darker areas, blending into the proplasmos.
2nd Grapsimo
For the 2nd grapsimo we add some black to the 1st and again define the darkest areas and blend into the 1st grapsimo.
3rd Grapsimo
For the 3rd grapsimo we add some black to the 2nd and again define the darker areas or the iris, the eyelid, eyebrows and nose, this time without blending into the 2nd.
Darkest Details
We then add some more black for the fine lines on the eyebrows, the upper eyelids, the pupils of the eyes and the nostrils as well as the corners of the mouth.
1st Flesh
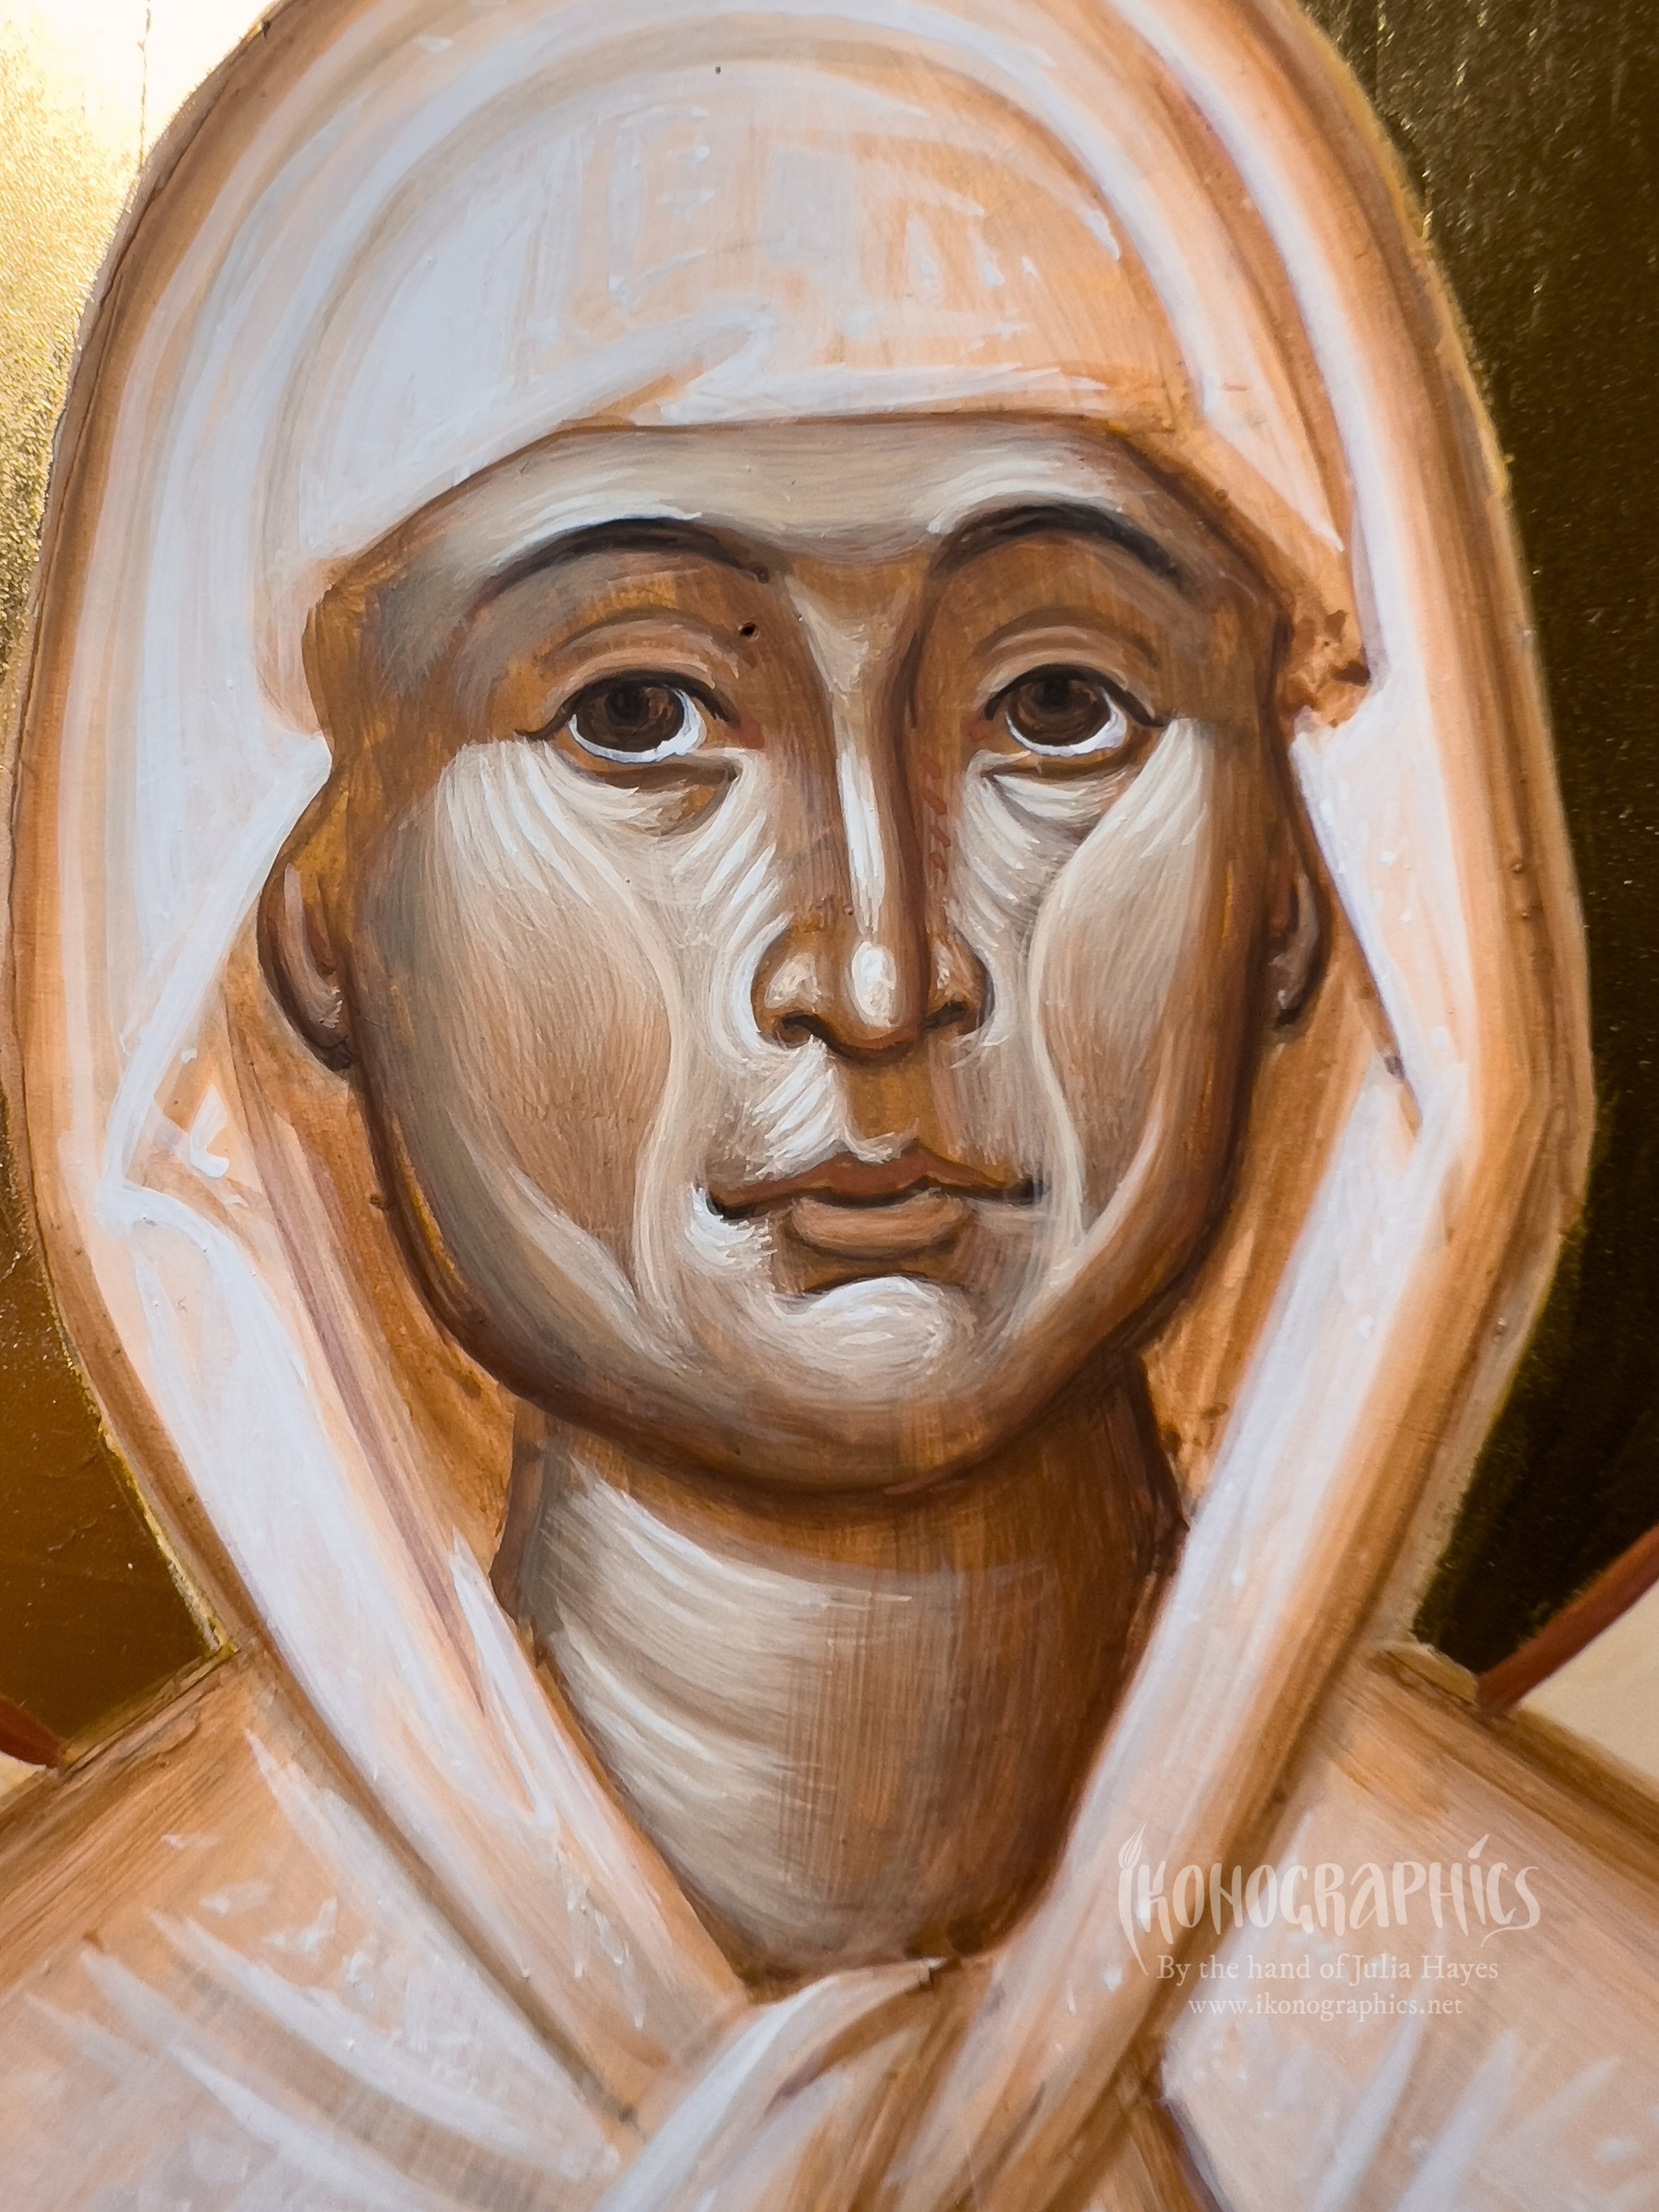
The 1st Flesh is made with yellow ochre and white. You can also add a touch of mars red.
Cool Glaze
We paint a diluted glaze made of yellow ochre, white and a touch of black on the lighter/ broader side of the face. It forms a cool transition between the proplasmos and the 1st flesh.
2nd Flesh
The 2nd flesh is made with the 1st flesh and white. It is built up within the 1st flesh slowly building up the volume of the forms.
Warm Glaze
The warm glaze is made with diluted mars red and yellow ochre and painted on the darker side of the face, neck and nose creating a transition between the 1st flesh and the proplasmos. It is the contrast between the warm and cool glazes that brings the flesh tones to life. It is also painted on the lower lip, cheeks, and eyelids.
3rd Flesh
The 3rd flesh is made with the addition of white to the 2nd and is built up with in the 2nd.
1st Psimythia
The first psymithia are made with 3rd flesh and white and are painted in the lightest areas within the 3rd proplasmos on the lightest parts of the face.
2nd Psimythia
The 2nd and final psymithia are pure white and are painted within the 1st psymithia only in the very lightest areas on the broad side of the face. I also paint the white of the eyes.
If you enjoy my content consider buying me a cup of Kofi: https://ko-fi.com/ikonographics


